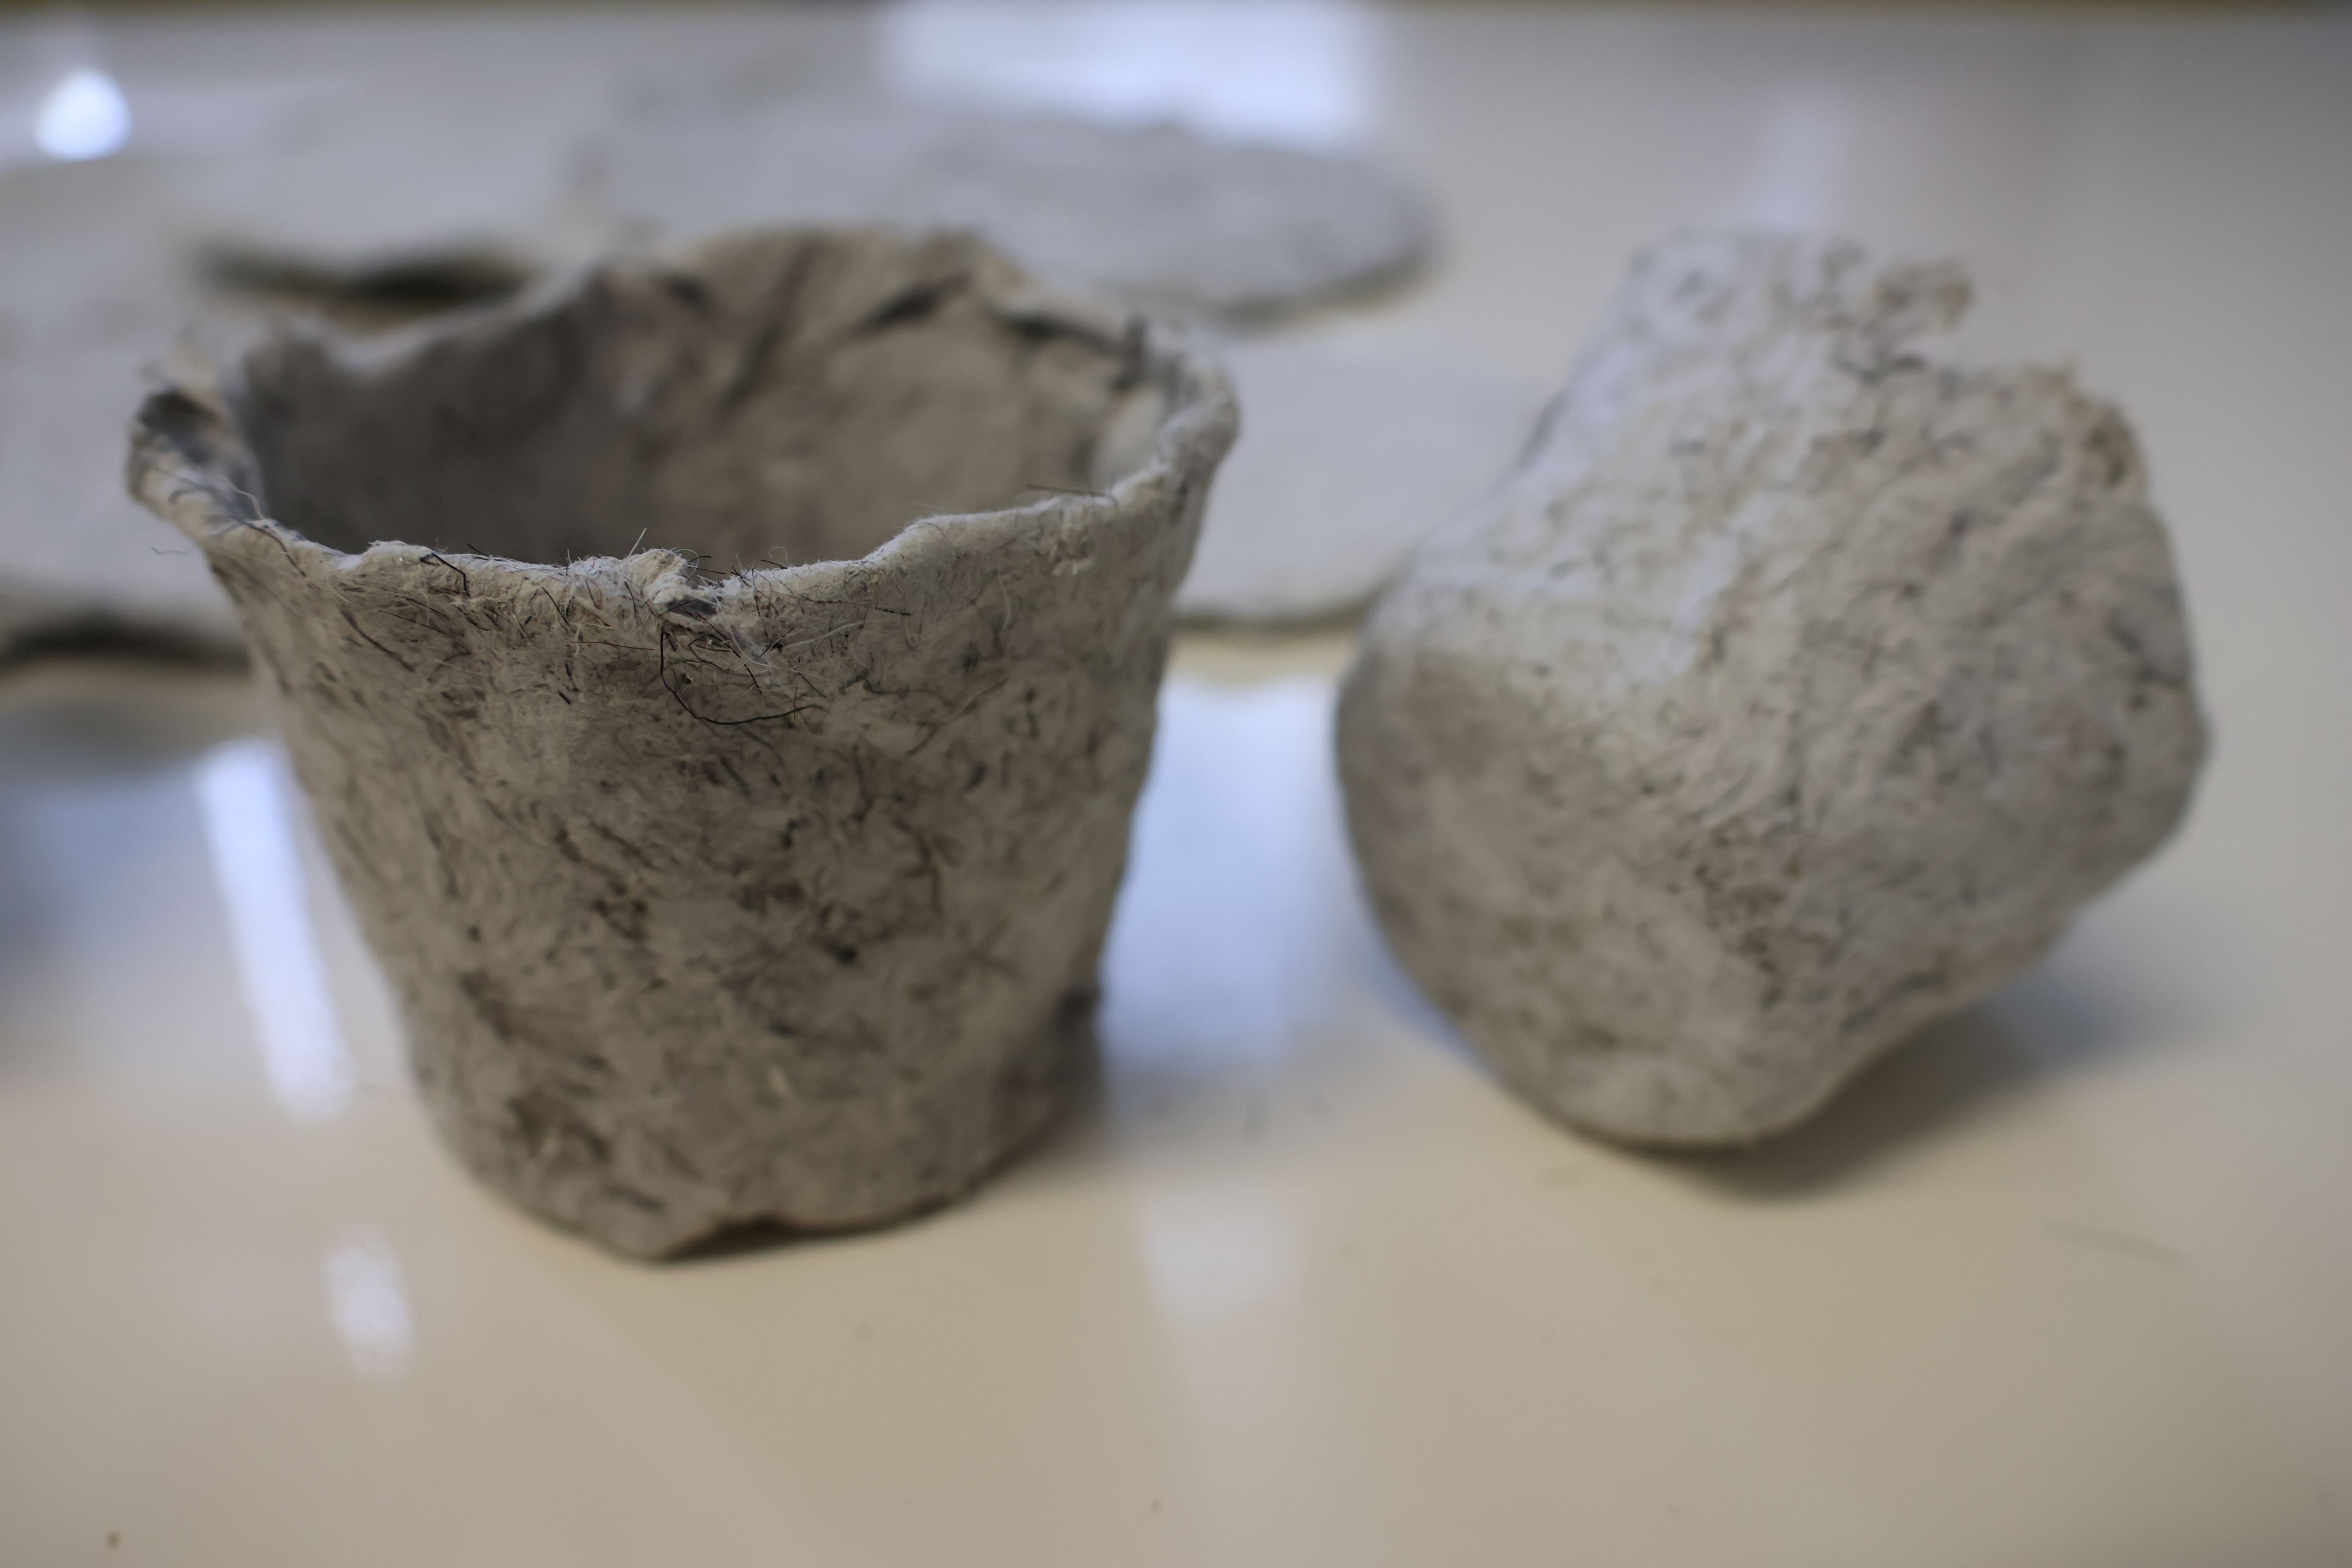
Seedling pots moulded from waste office paper and shredded local wool
Local natural materials incorporated into seedling pots that encourage plant growth and improve soil quality
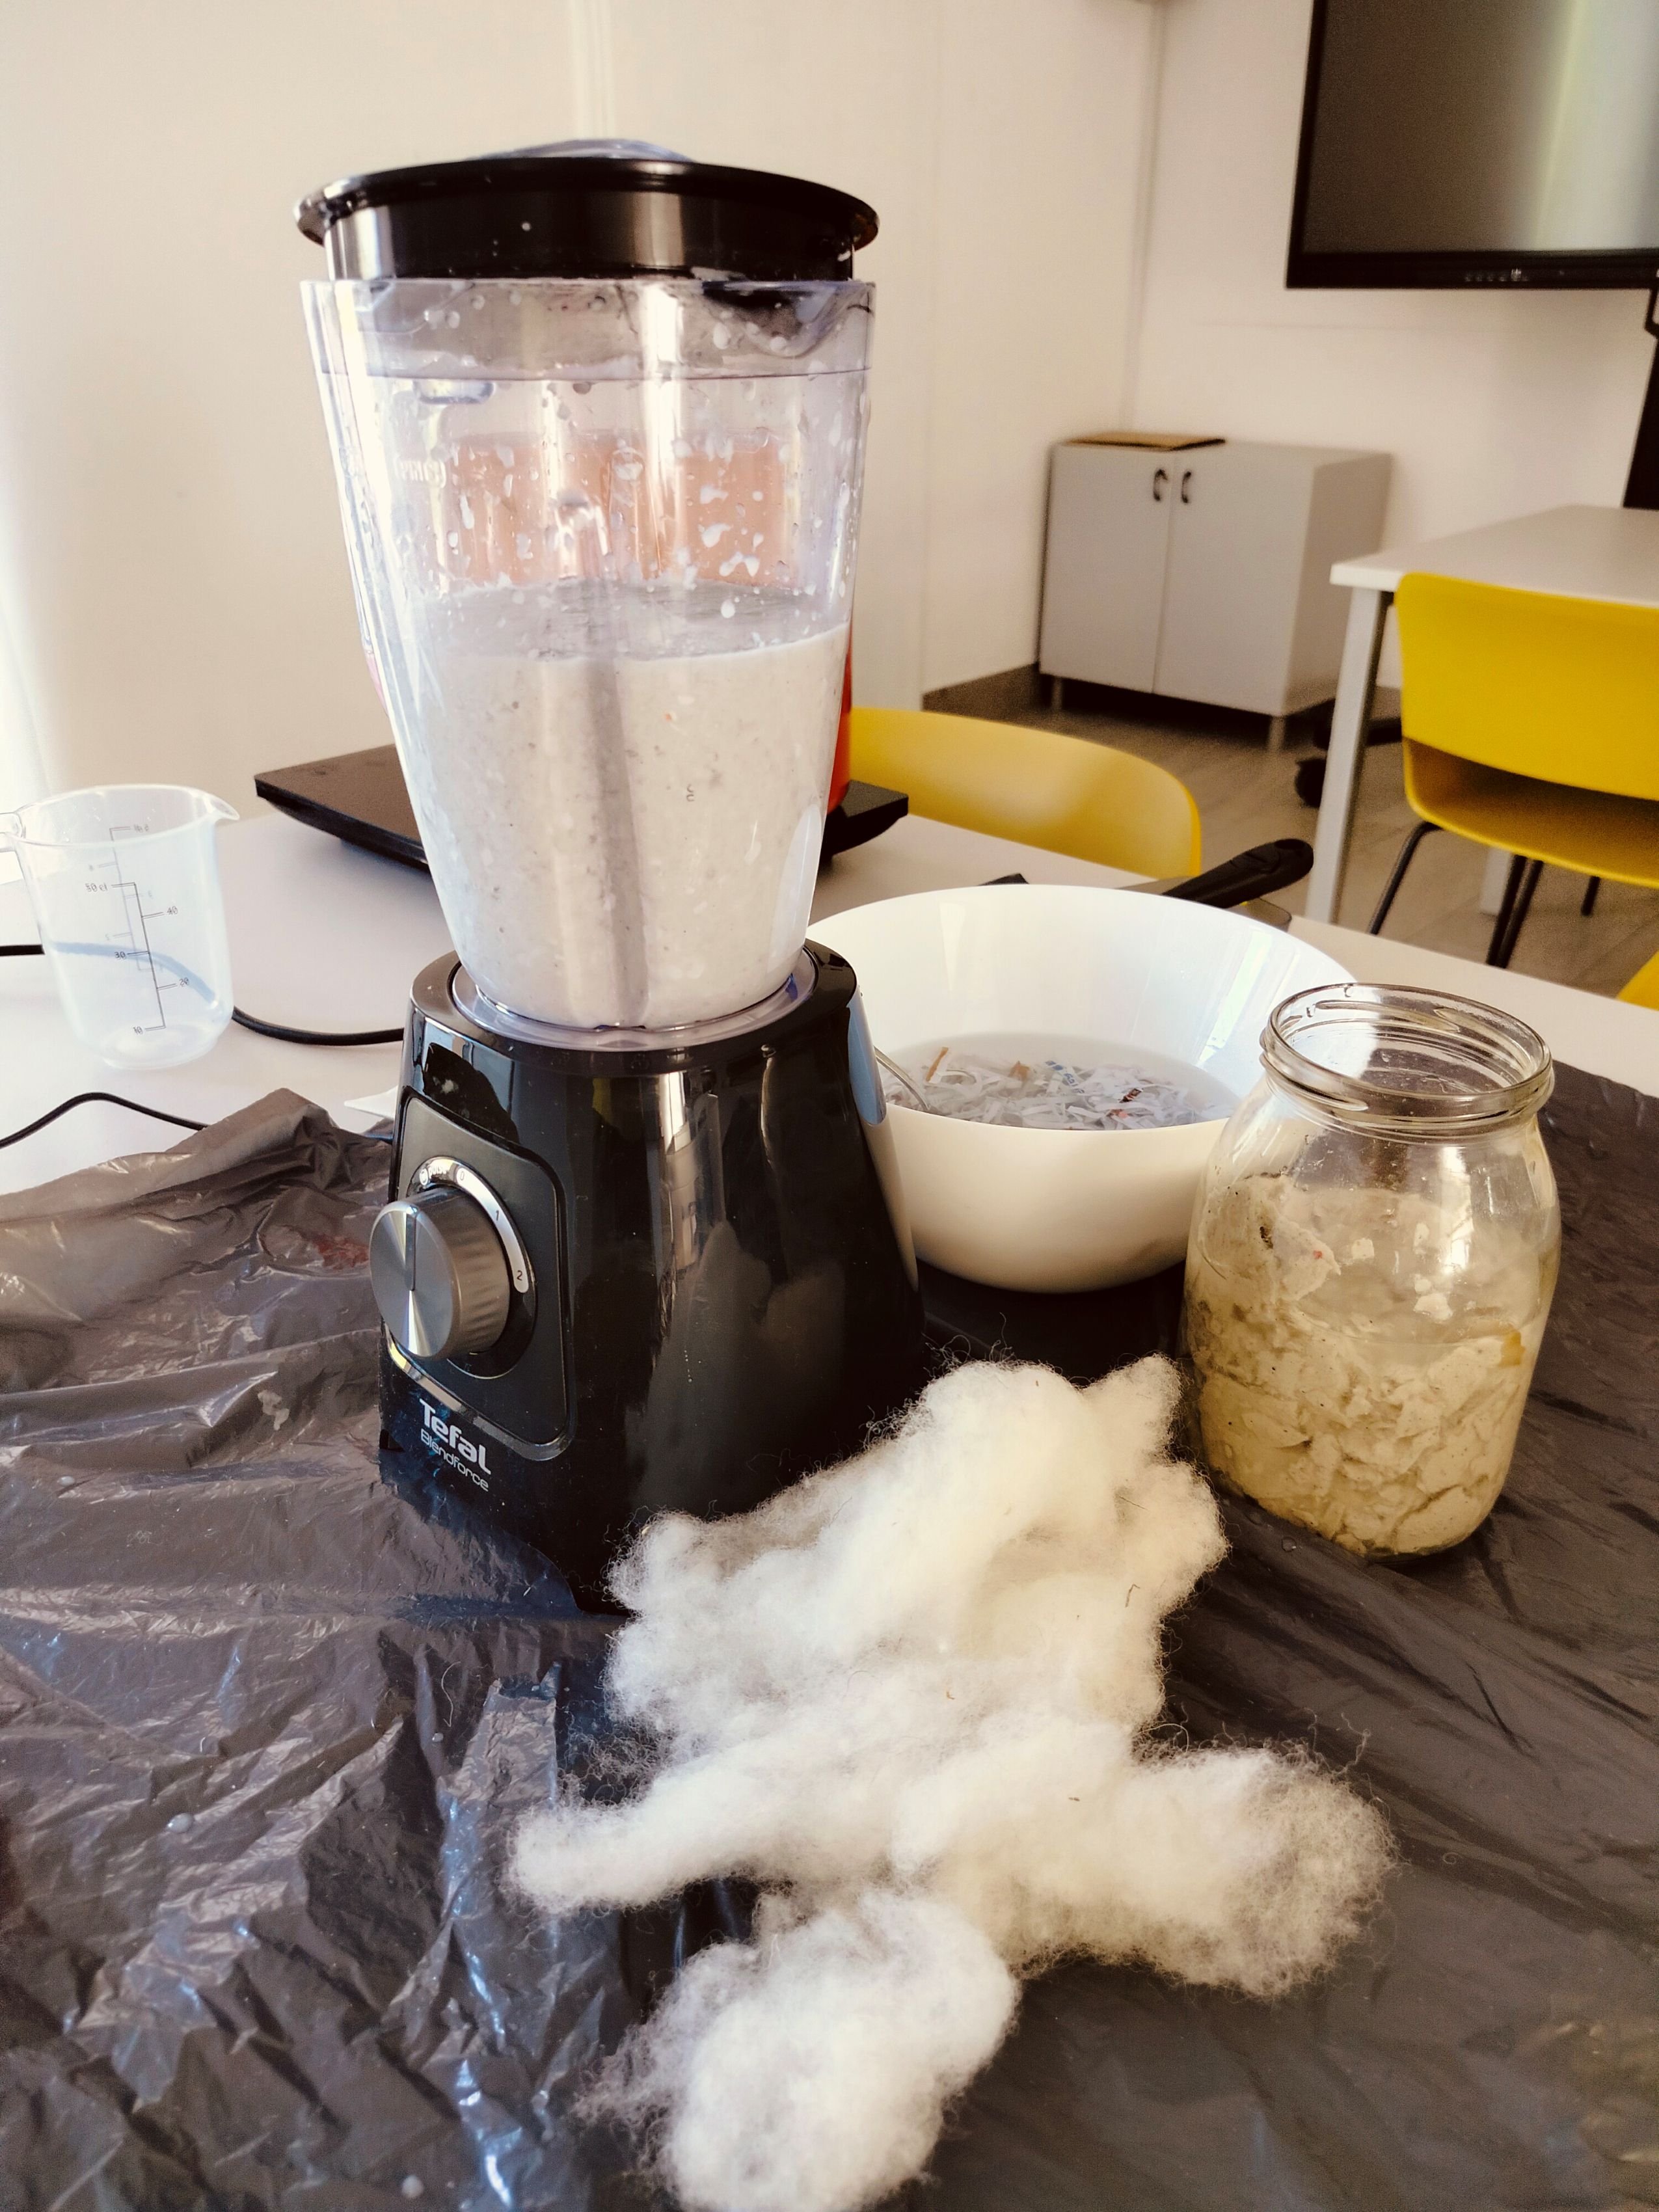
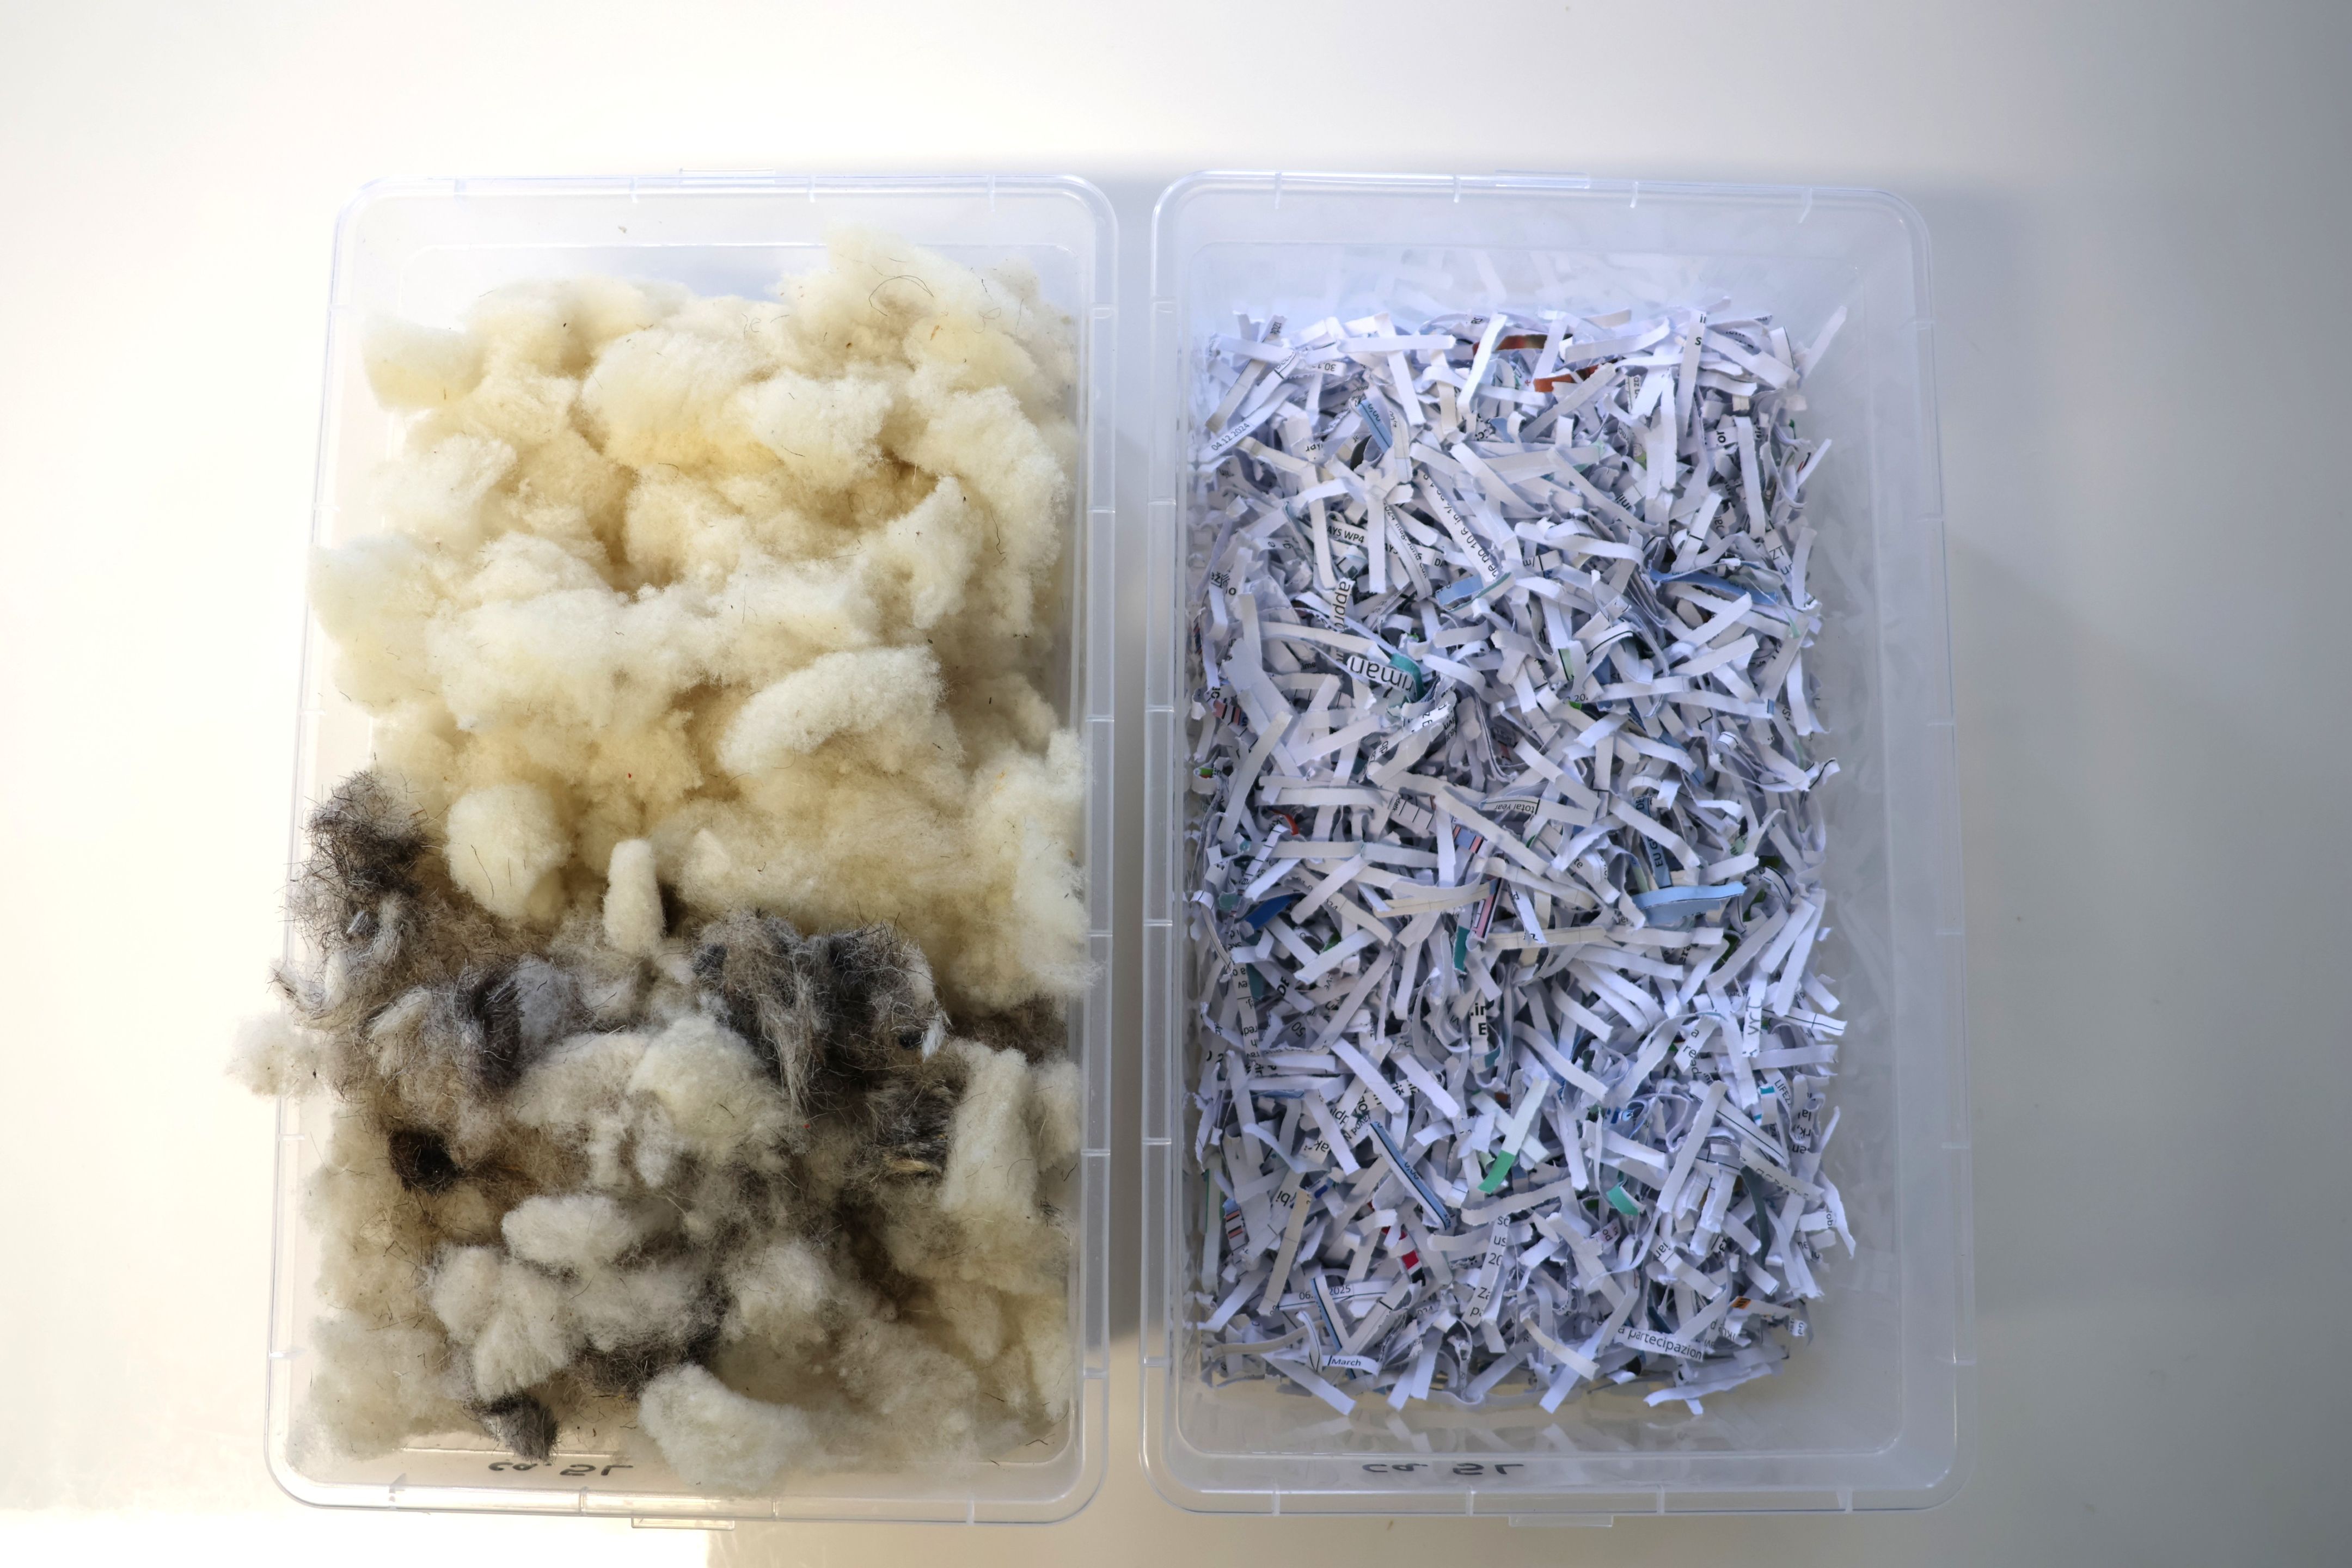
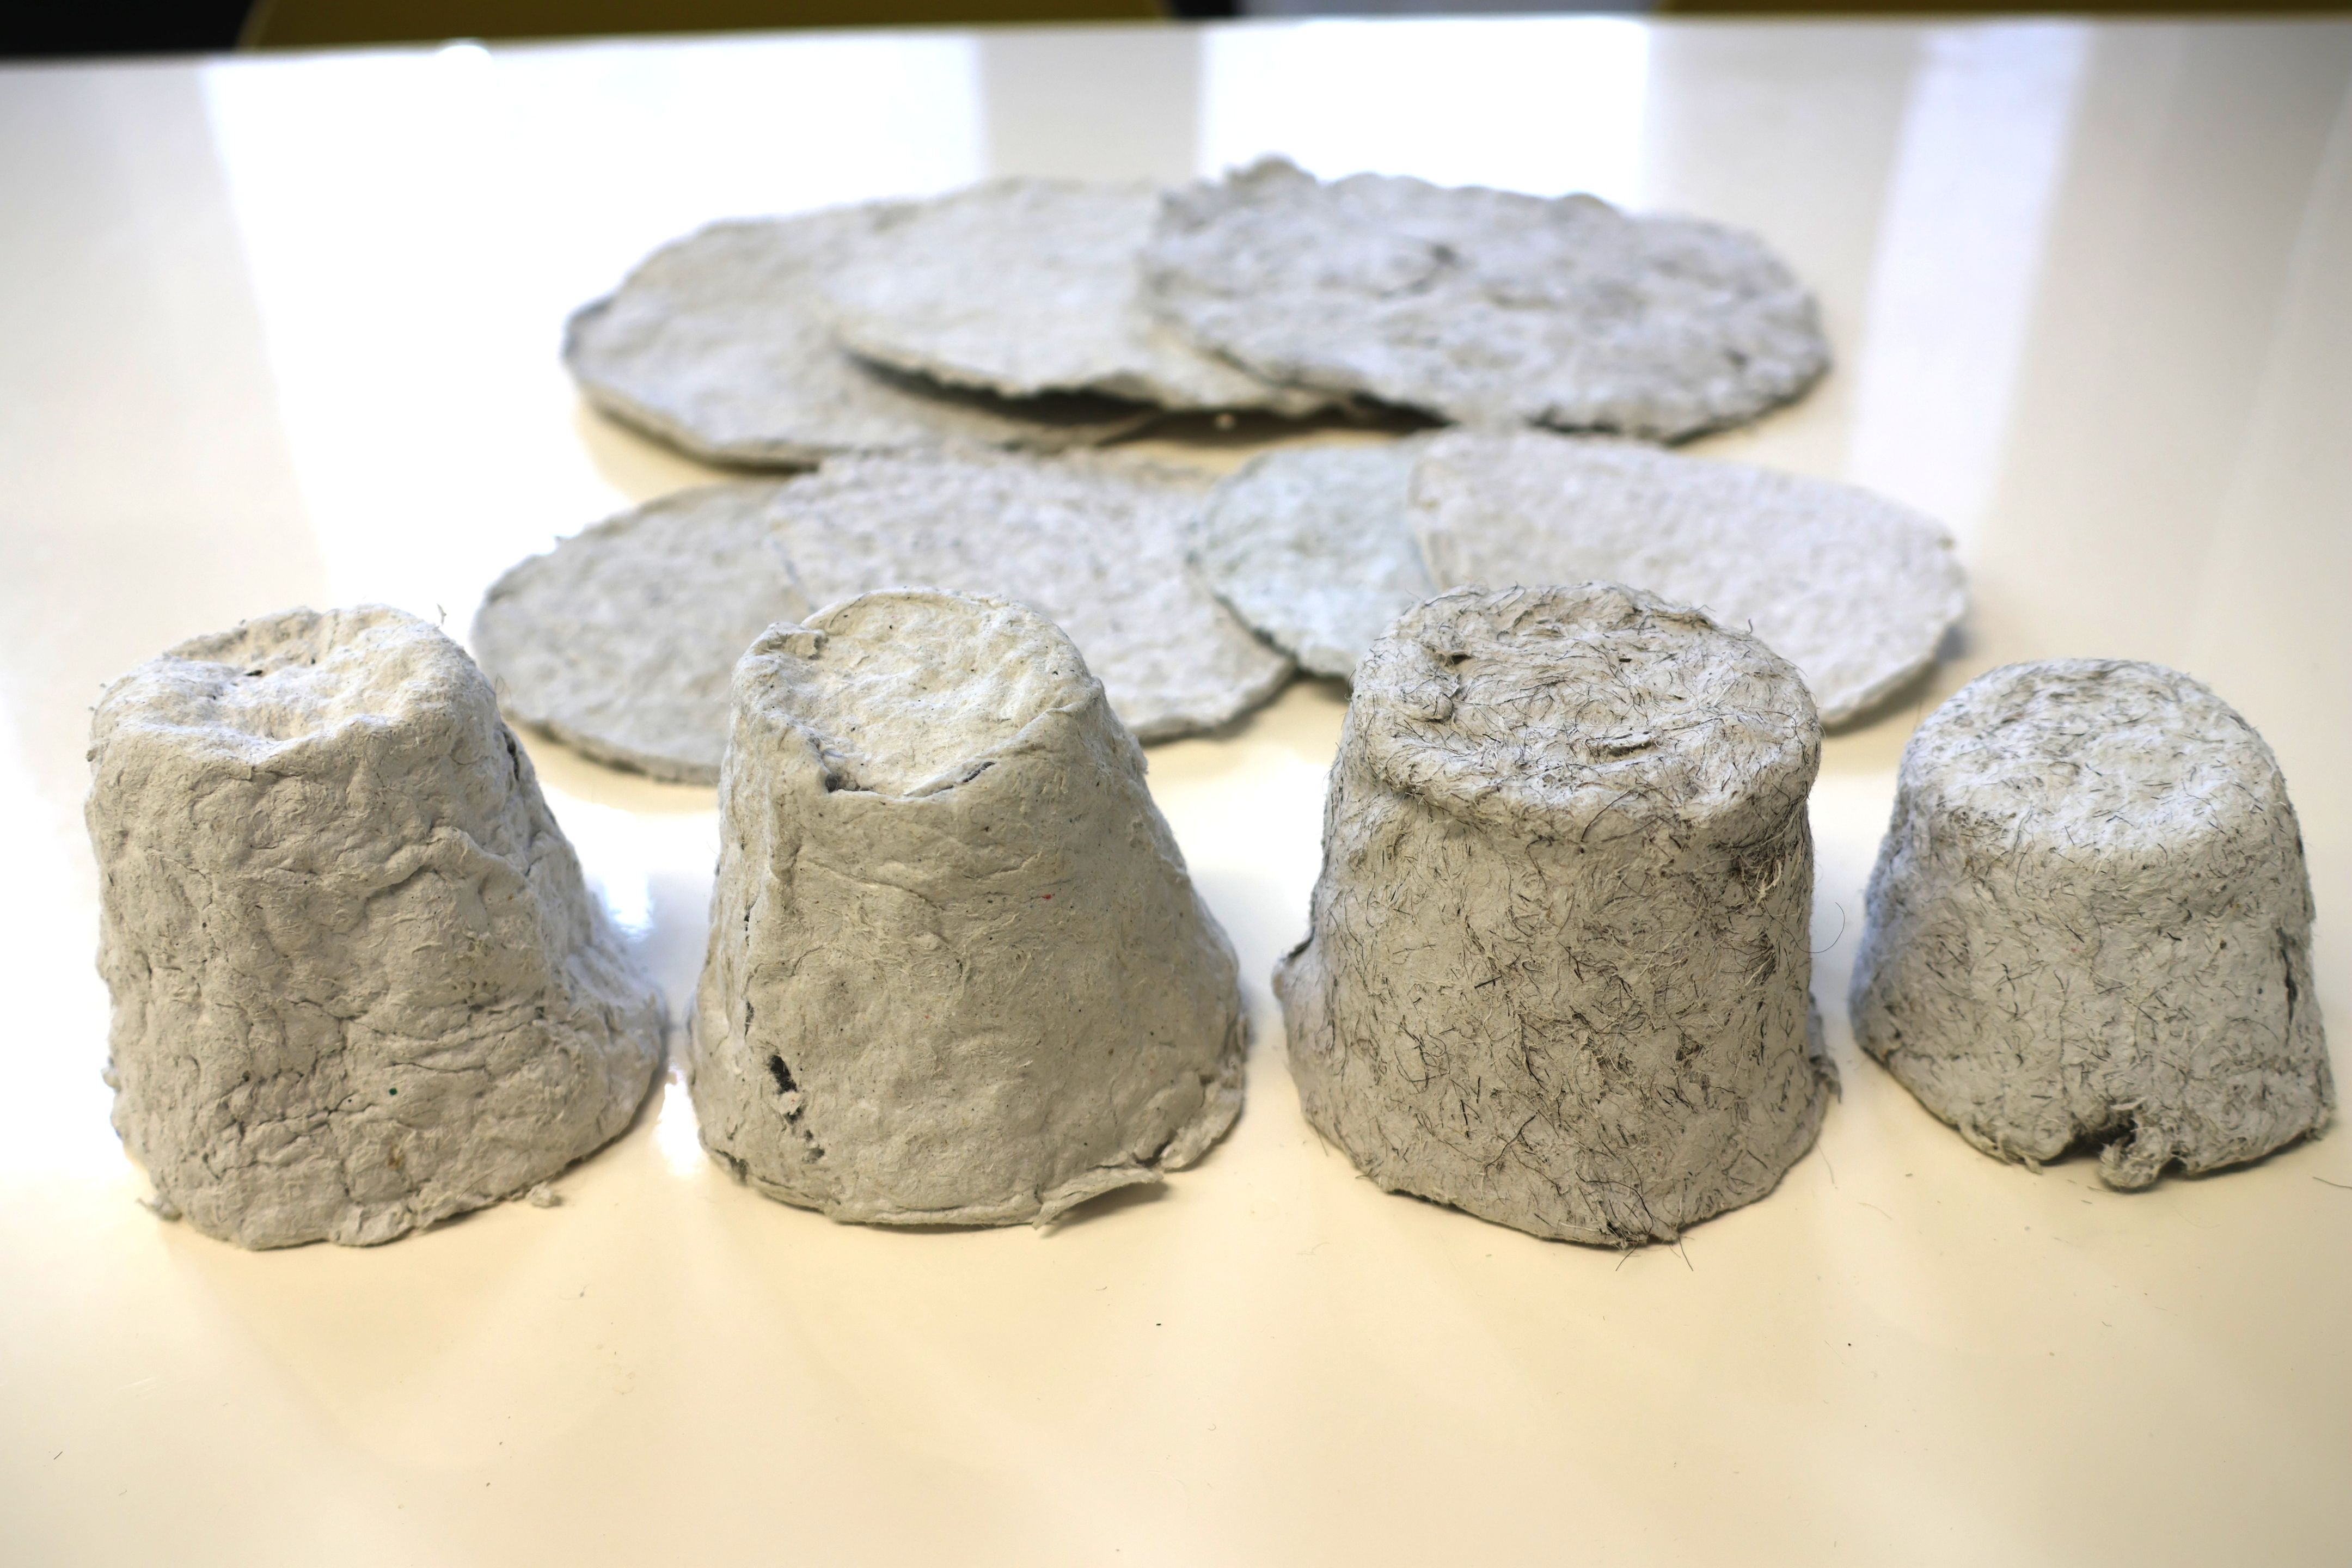
The horticultural sector uses un unprecedented amount of single-use plastic seedling pots and trays during the plant production process. These plastic pots and trays end up on landfills or discarded into the natural environment. We attempted to test whether local coarse sheep wool that is considered unsuitable for textile manufacturing, in combination with wasteed and shredded office paper could be moulded into planting container shapes. The two basic ingredients are pulped together with water, using a kitchen blender and the resulting pulp moulded into various shapes (discs, pots). This approach is flexible (allowing various ratios of basic ingredients; mixing different ingredients depending on the material available), low-cost and uses the properties of natural materials to encourage plant growth and health, while enriching and improving the soil. The seedling pots are completely biodegradable and also reduce the need for watering.
Input materials
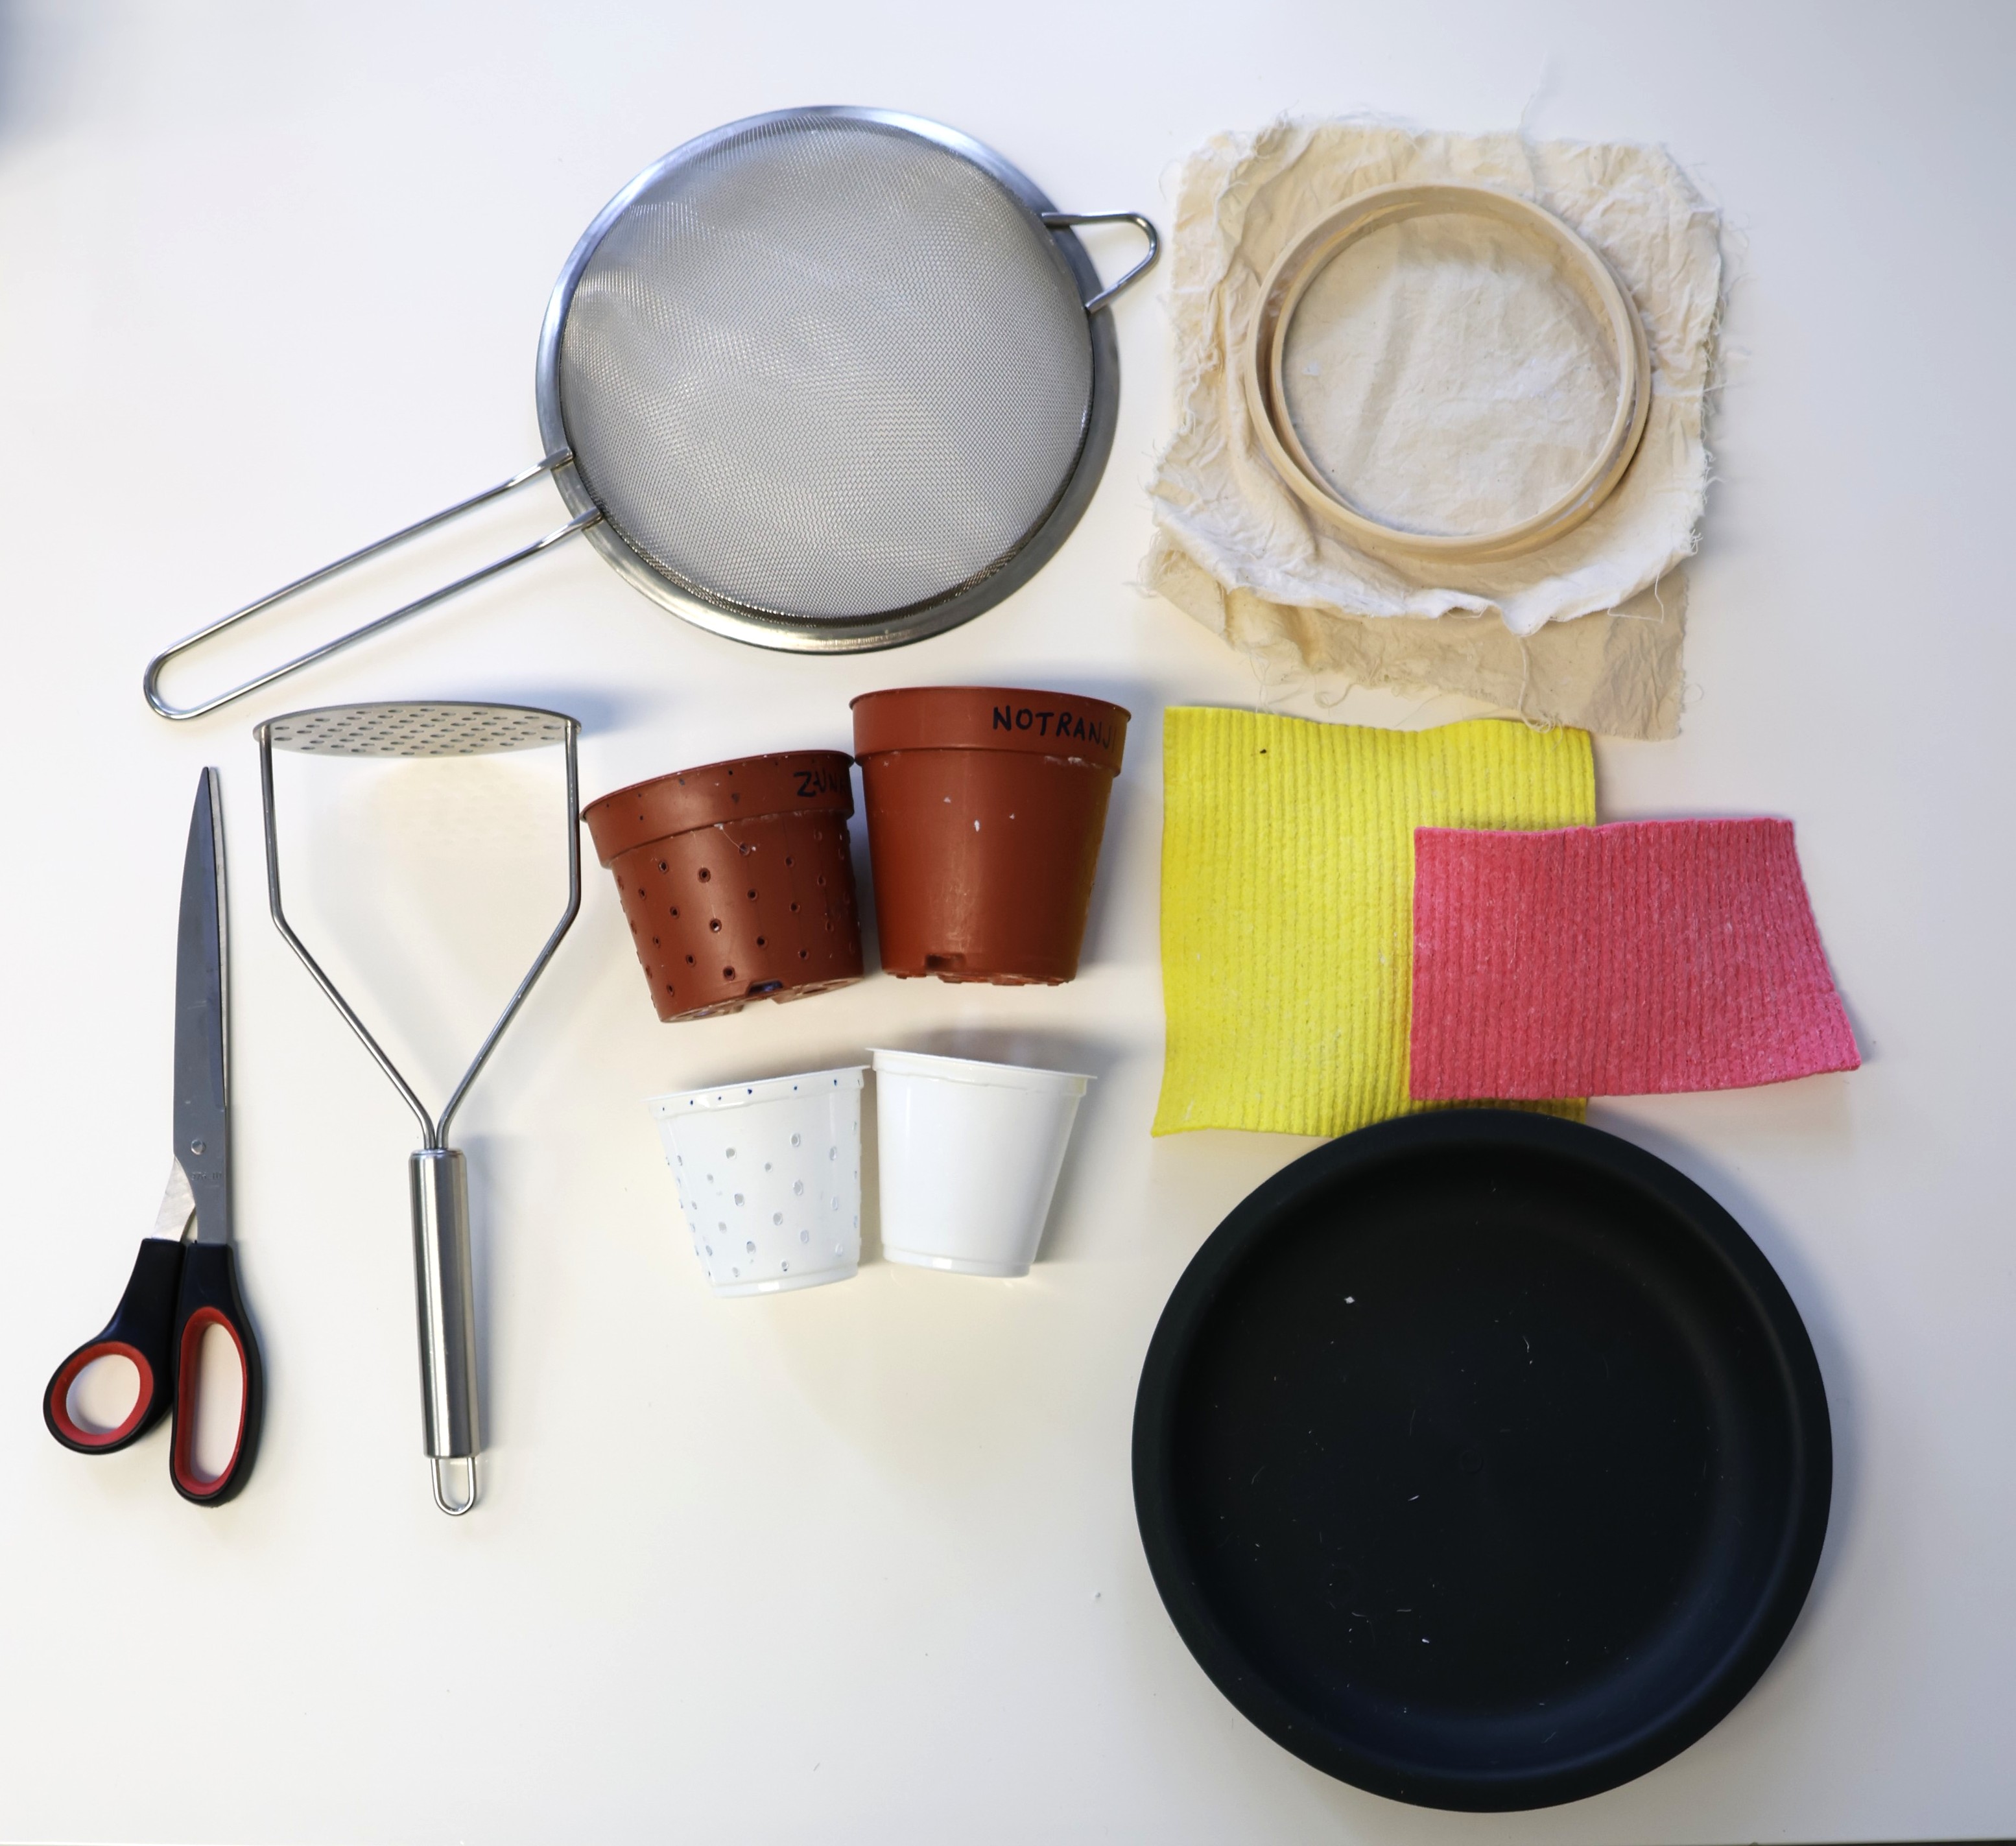
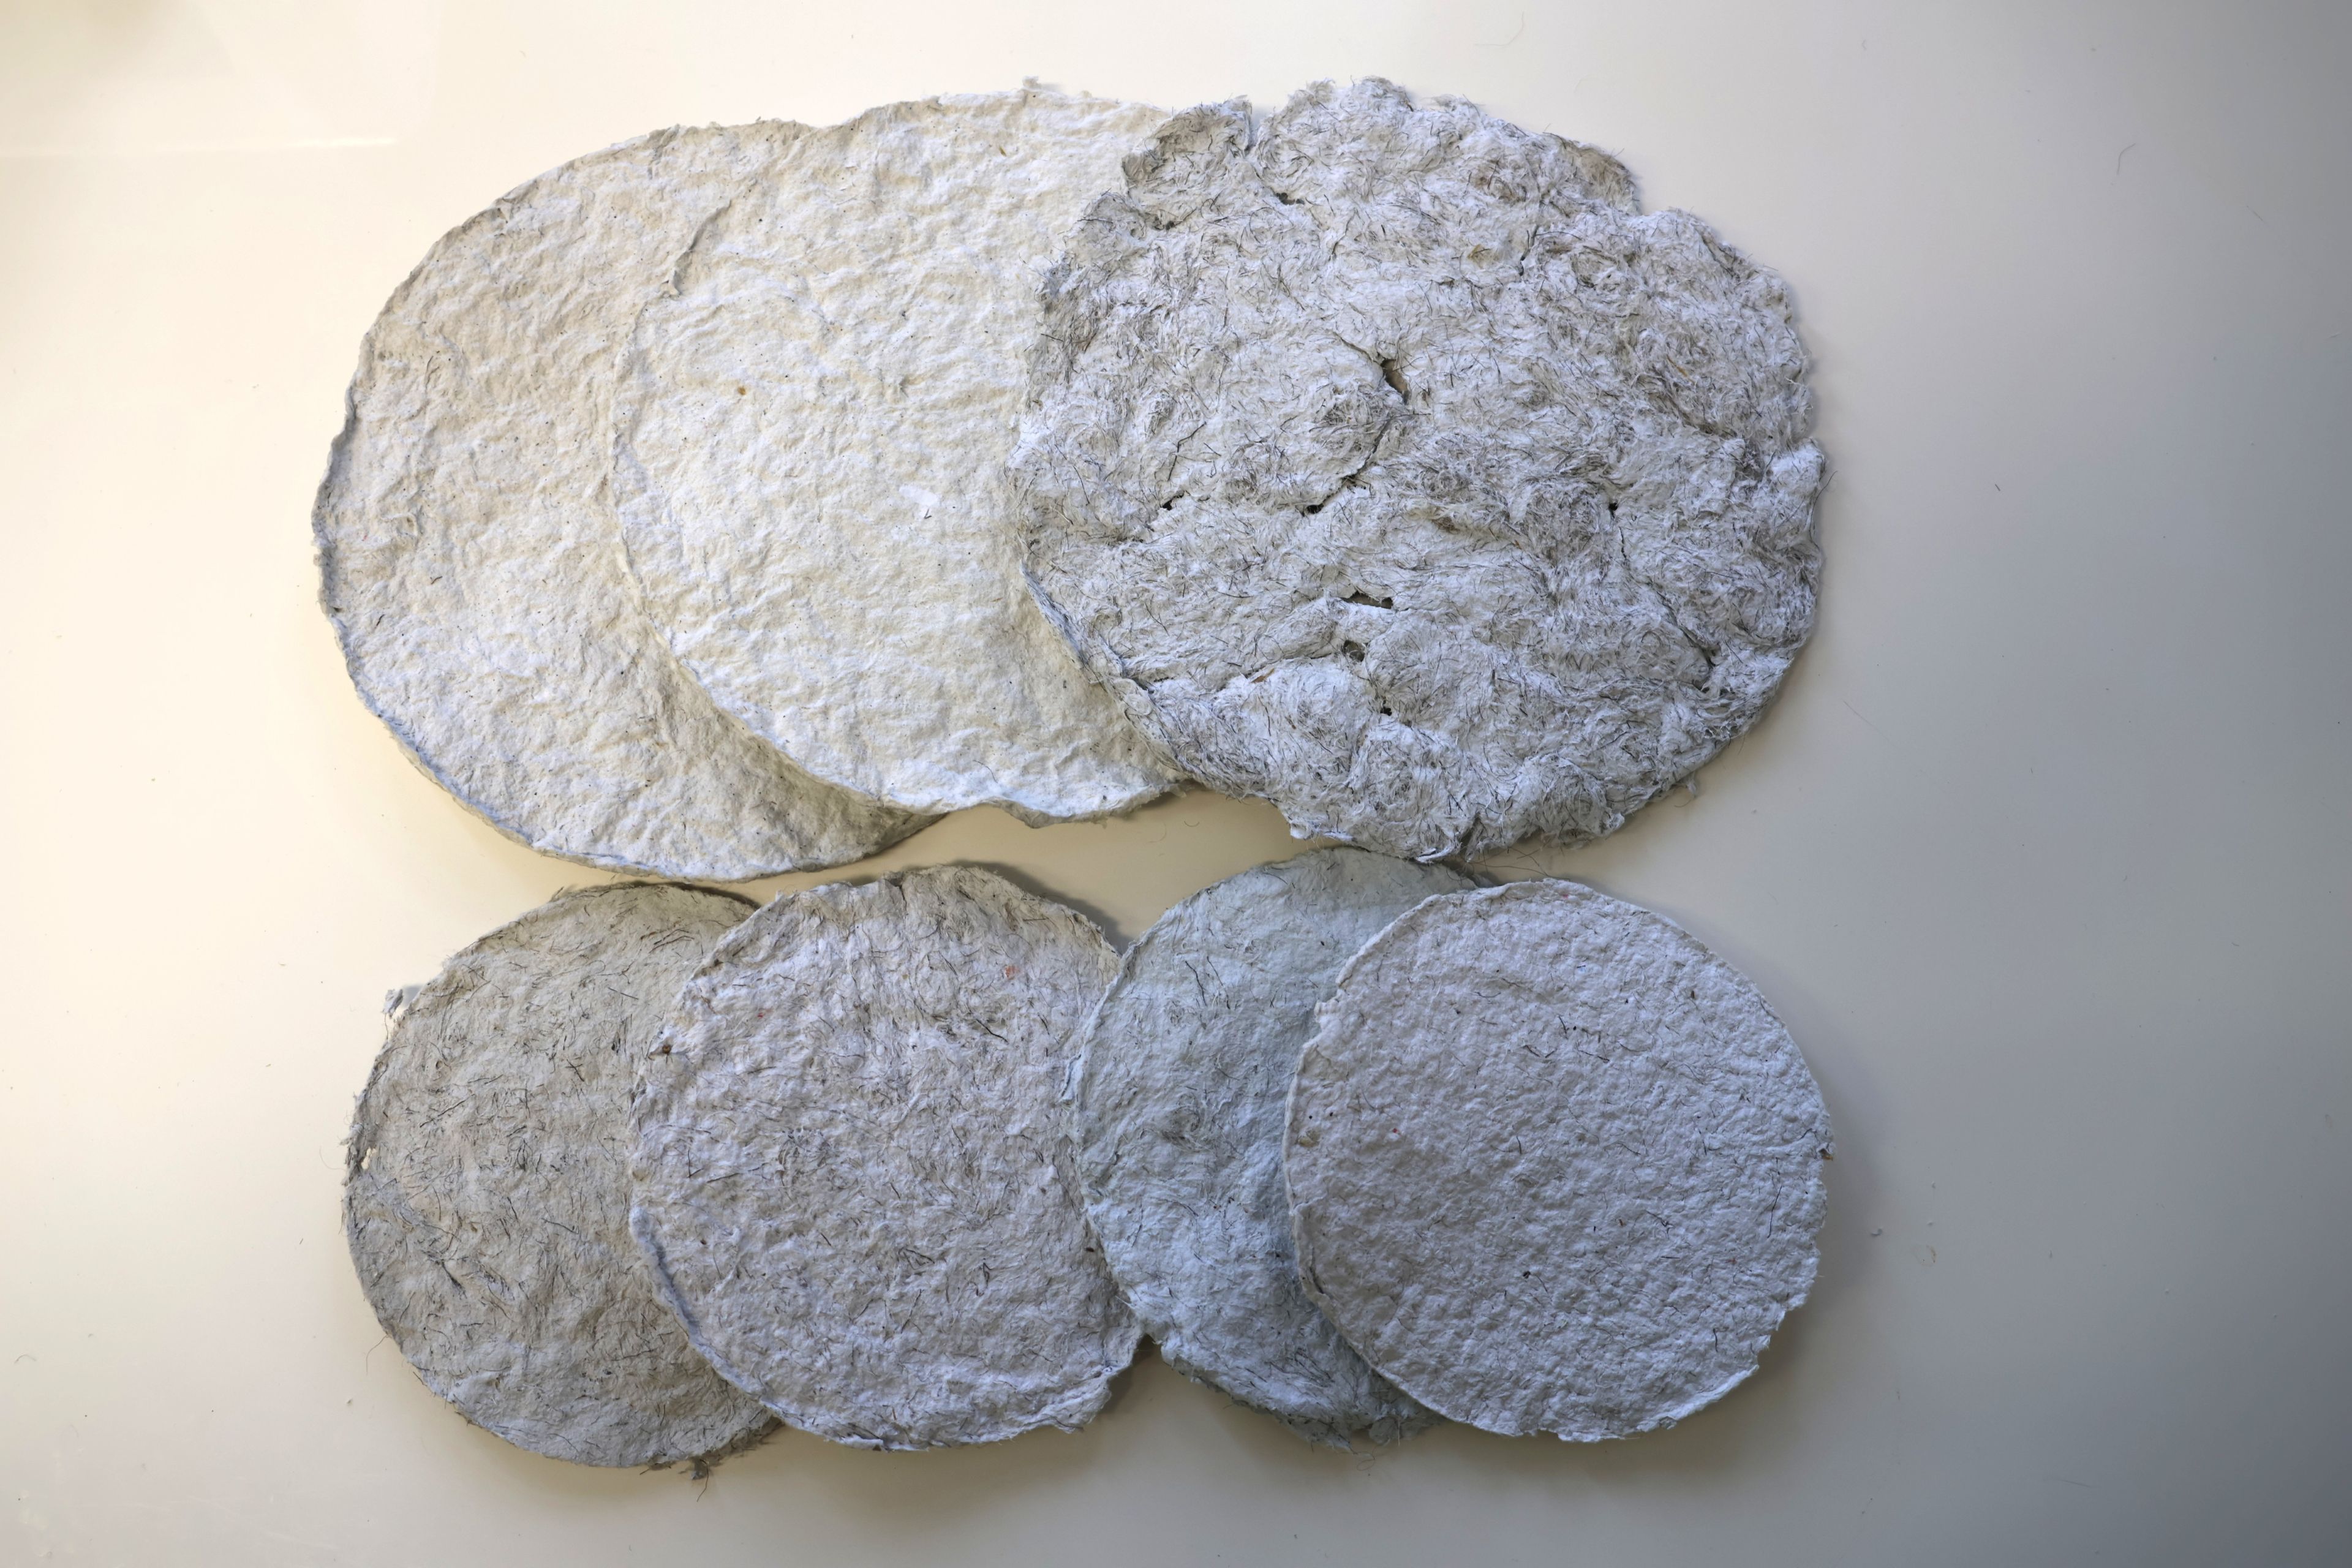
- scissors or office guillotine (to shorten the wool fibres)
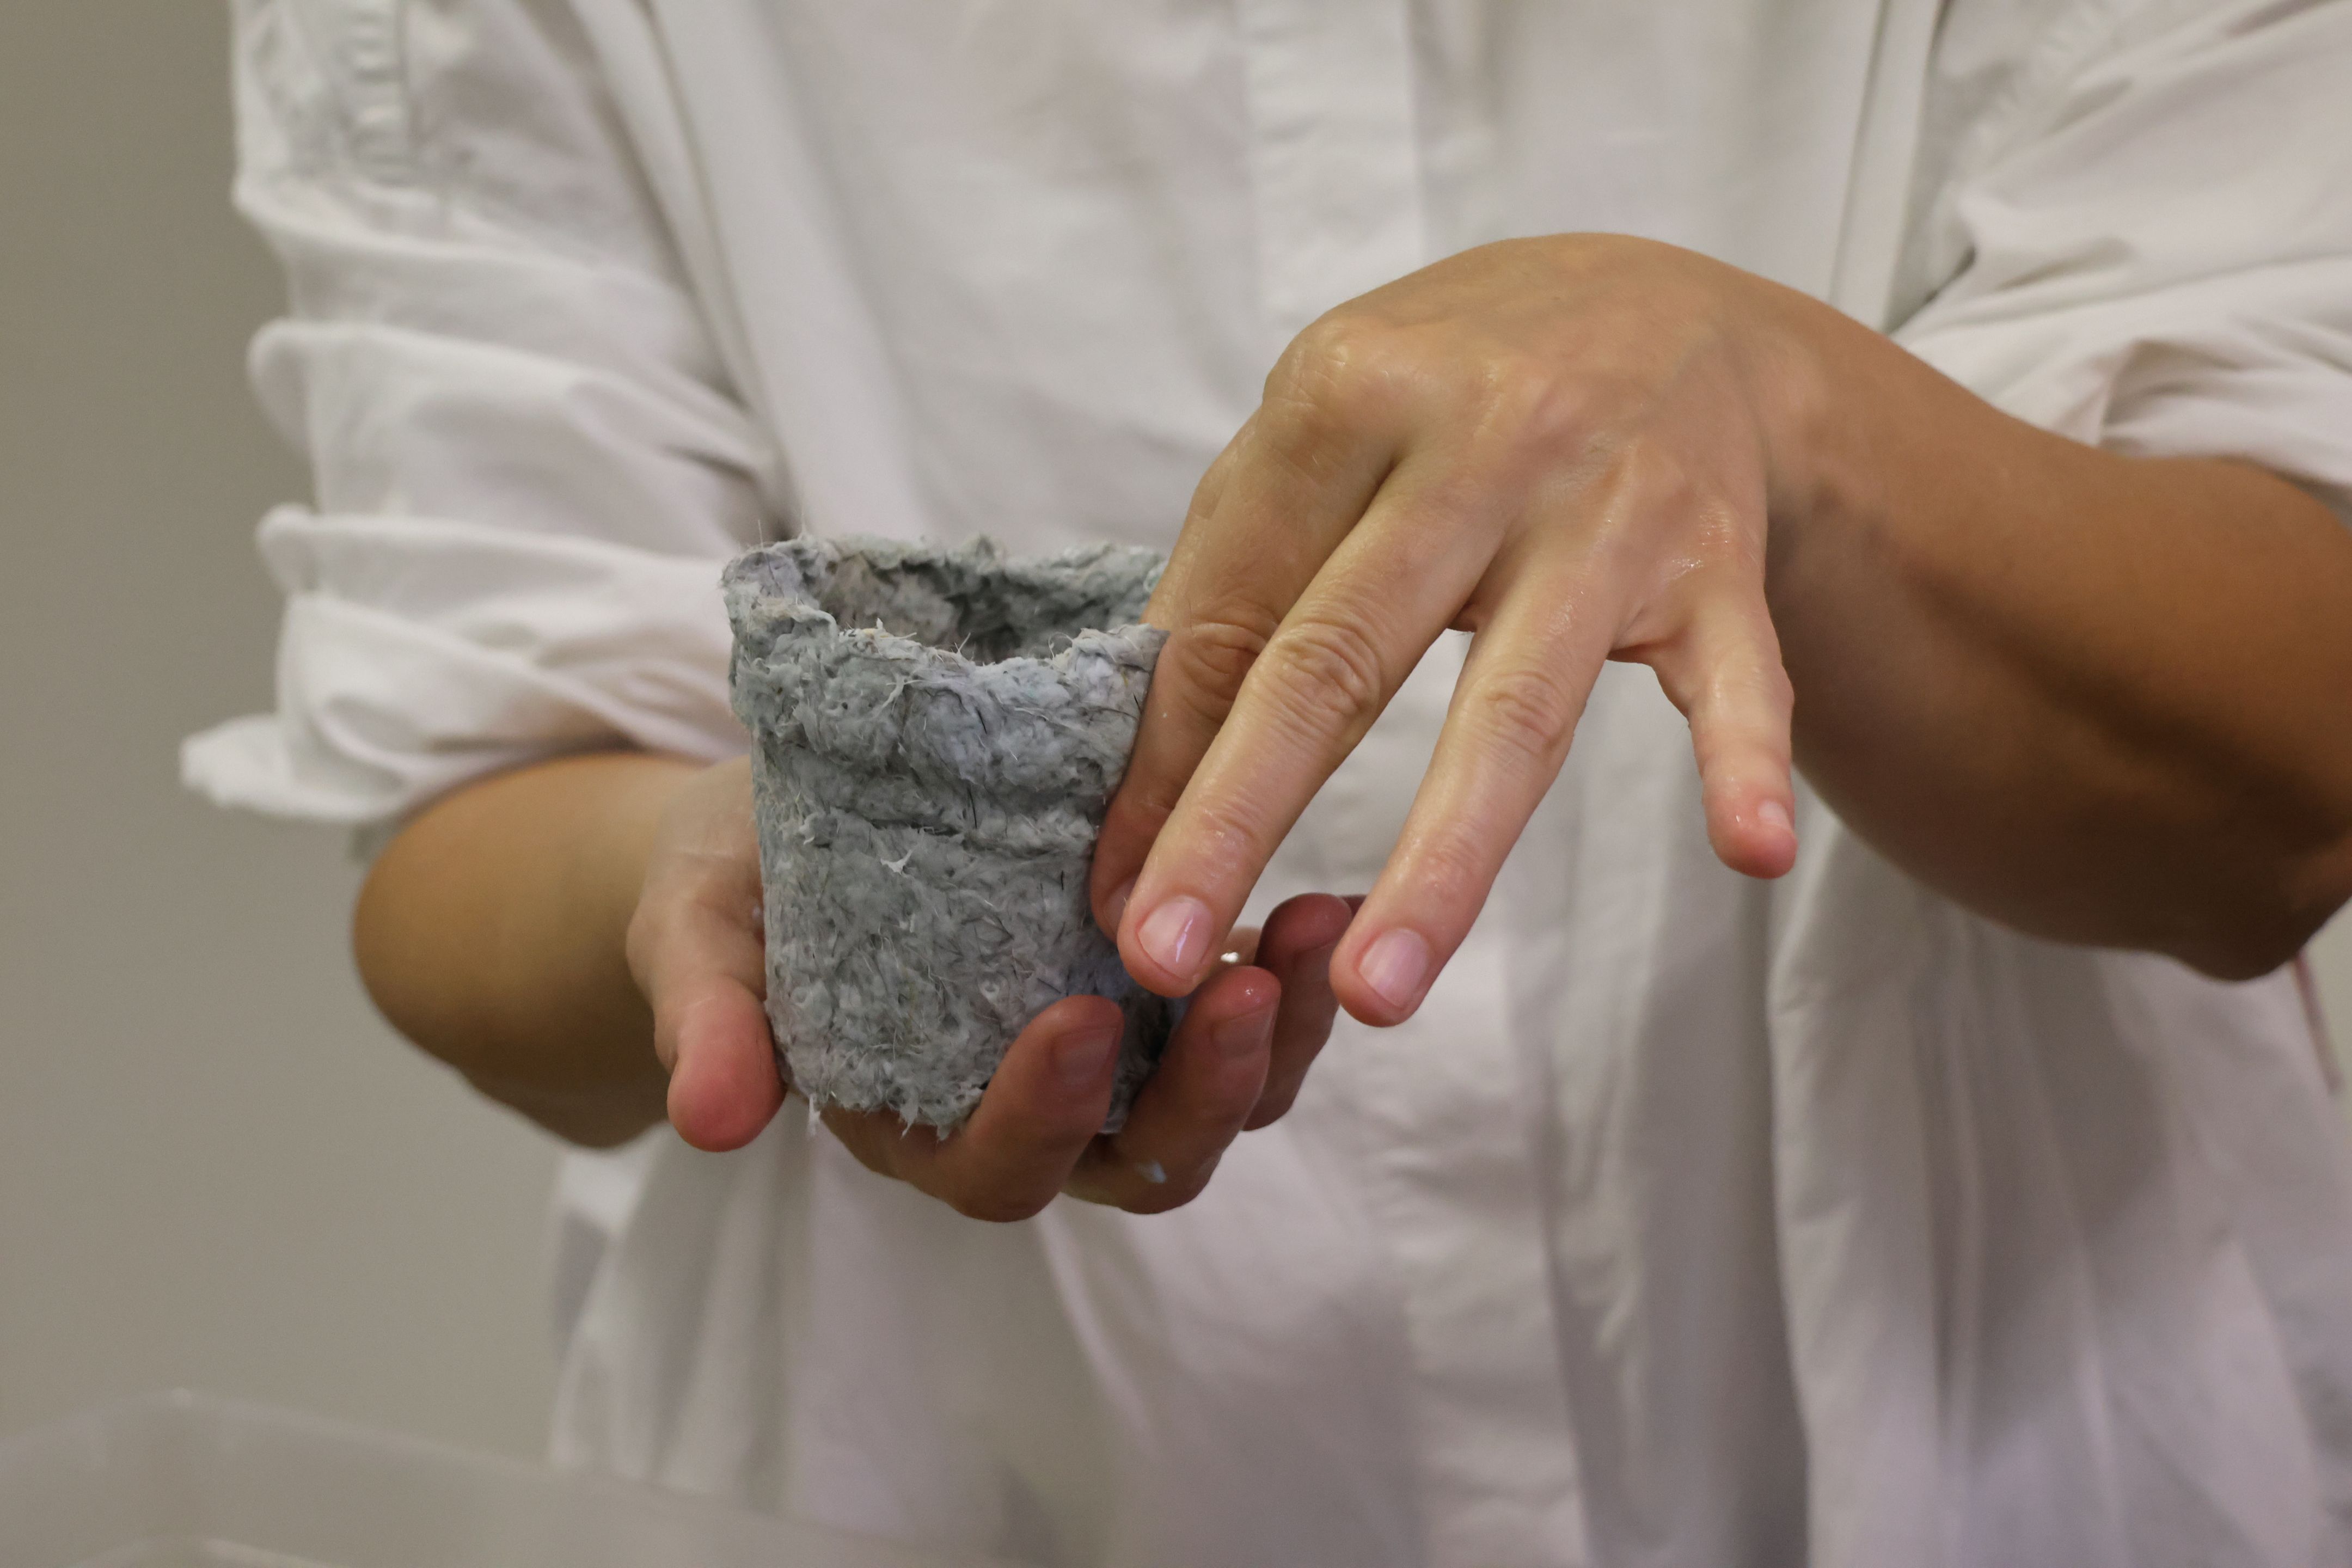
- mixing bowl
- masher
- spatula
- sieve
- two pots of slightly different slizes, one perforated with a drill
- embroidery hoops with muslin fabric (or similar)
- kitchen wipes
Ingredients
- shredded/cut-up wool fibres
- water
How to
2. Prepare the wool fibres: soak the cut wool fibres in a bowl of water (wool is very absorbent, so soaking it beforehand eases the composite pulp blending later).
3. Combine the paper soaked paper pulp and wool fibres in a blender (various ratios can be used, we used 1:1), add enough water to enable the blender blades to rotate.
4. If making a disc, spread the wet composite onto a fabric, stretched over the embroidery hoop, smooth out the surface using a spatula and then press the masher onto the surface to remove as much water as possible. You can also use the absorbent kitchen wipes. Release the hoop and remove the composite disc. Let it air dry.
5. If making a seedling pot, use two plastic pots, slightly different dimensions, but smaller nesting closely inside the bigger one, with the bigger pot pre-drilled for easier water removal. Take the bigger, perforated pot and spread the wet composite inside, smoothing the surface. Now insert the smaller pot inside and press down to remove excess water. Remove the inside pot. Use kitchen wipe to press inside surfaces to remove excess water. Carefully remove the compacted, moulded shape. Let it air dry.
6. The composite (disc or pot) harden when it's completely dry and is ready to be used.
Gallery
Conclusion
Seedling pots can be used to germinate seeds and once the seedling has grown, the pot can be placed directly into the soil, where it will degrade, enrich the soil during nutrient slow-release, provide moisture from healthy plant growth and add organic matter to soil.