Felting techniques and tools
wool technique
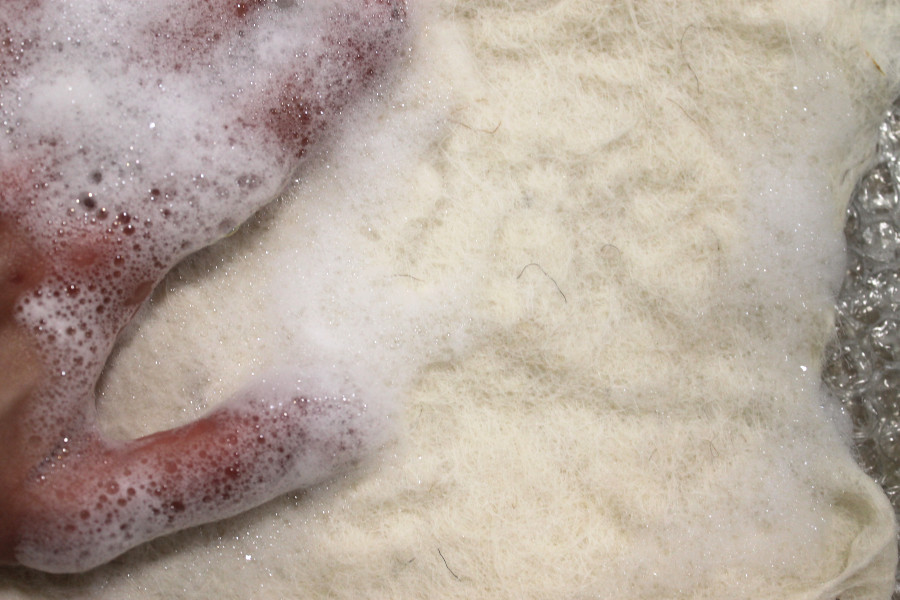
Felting is considered one of the oldest textile techniques, developed before spinning and weaving. The original method, known as wet felting, consists of layering wool fibers and agitating them with warm water and soap. Through repeated pressure, friction, and manipulation, the fibers gradually interlock, forming a dense and cohesive textile surface.
A second method, needle felting, developed over time. Instead of water and soap, it relies on specialized needles with barbed edges that mechanically entangle the fibers. By repeatedly piercing layers of wool, the fibers lock together, allowing greater precision and control in shaping forms and details.
Today, technology can further support both wet and needle felting processes. While manual work remains essential to activate and guide the behavior of the fibers, digital tools and mechanical aids can reduce physical effort, improve efficiency, and expand creative possibilities in contemporary textile practice.
Input materials
Felting mat
Plastic/bubble wrap
Towel or cardboard tube to roll with
Optional:
FeltLOOM
Felting gun
Sanding machine
Wet gentle roller
Ingredients
Marseille soap
Warm water
How to
1. Prepare four layers of carded wool, alternating fibre directions with each layer to improve cohesion.
2. Moisten the wool with warm water and Marseille soap, which helps the fibres open and interlock more easily.
3. Cover the layers with bubble wrap (bubble side facing the wool) and roll them tightly around a cardboard tube, applying pressure.
4. Roll several times, then unwrap. At this stage, part of the water is expelled from the fibres.
5. Continue working the wool by hand using warm water and soap, massaging it in different directions.
6. Repeat rolling and massaging cycles several times; repetition increases fibre entanglement and improves overall density.
7. Rinse thoroughly with clean water and full the material by repeatedly striking it against a flat surface, further compacting the fibres.
Needle felting
1. Prepare four layers of carded wool, alternating fibre directions to improve structural stability. (In this test, two layers were initially used, followed by two additional layers during the process.)
2. Place the wool on the felting mat, keeping the edges aligned.
3. Hold the felting needle perpendicular to the surface and begin repeatedly piercing the fibres with vertical up-and-down movements, causing them to entangle and lock together.
4. Work evenly across the entire surface, avoiding prolonged concentration in one area to prevent holes or weak spots.
5. Once the first side stabilises, carefully flip the sample and repeat the process on the opposite side.
6. Continue alternating sides, gradually increasing density by working consistently across both surface and edges.
7. Repeat until the desired level of compaction and surface uniformity is achieved.
Gallery
Conclusion
The observation of results was systematically recorded and documented in the project page, available in the file XXX (to be completed).