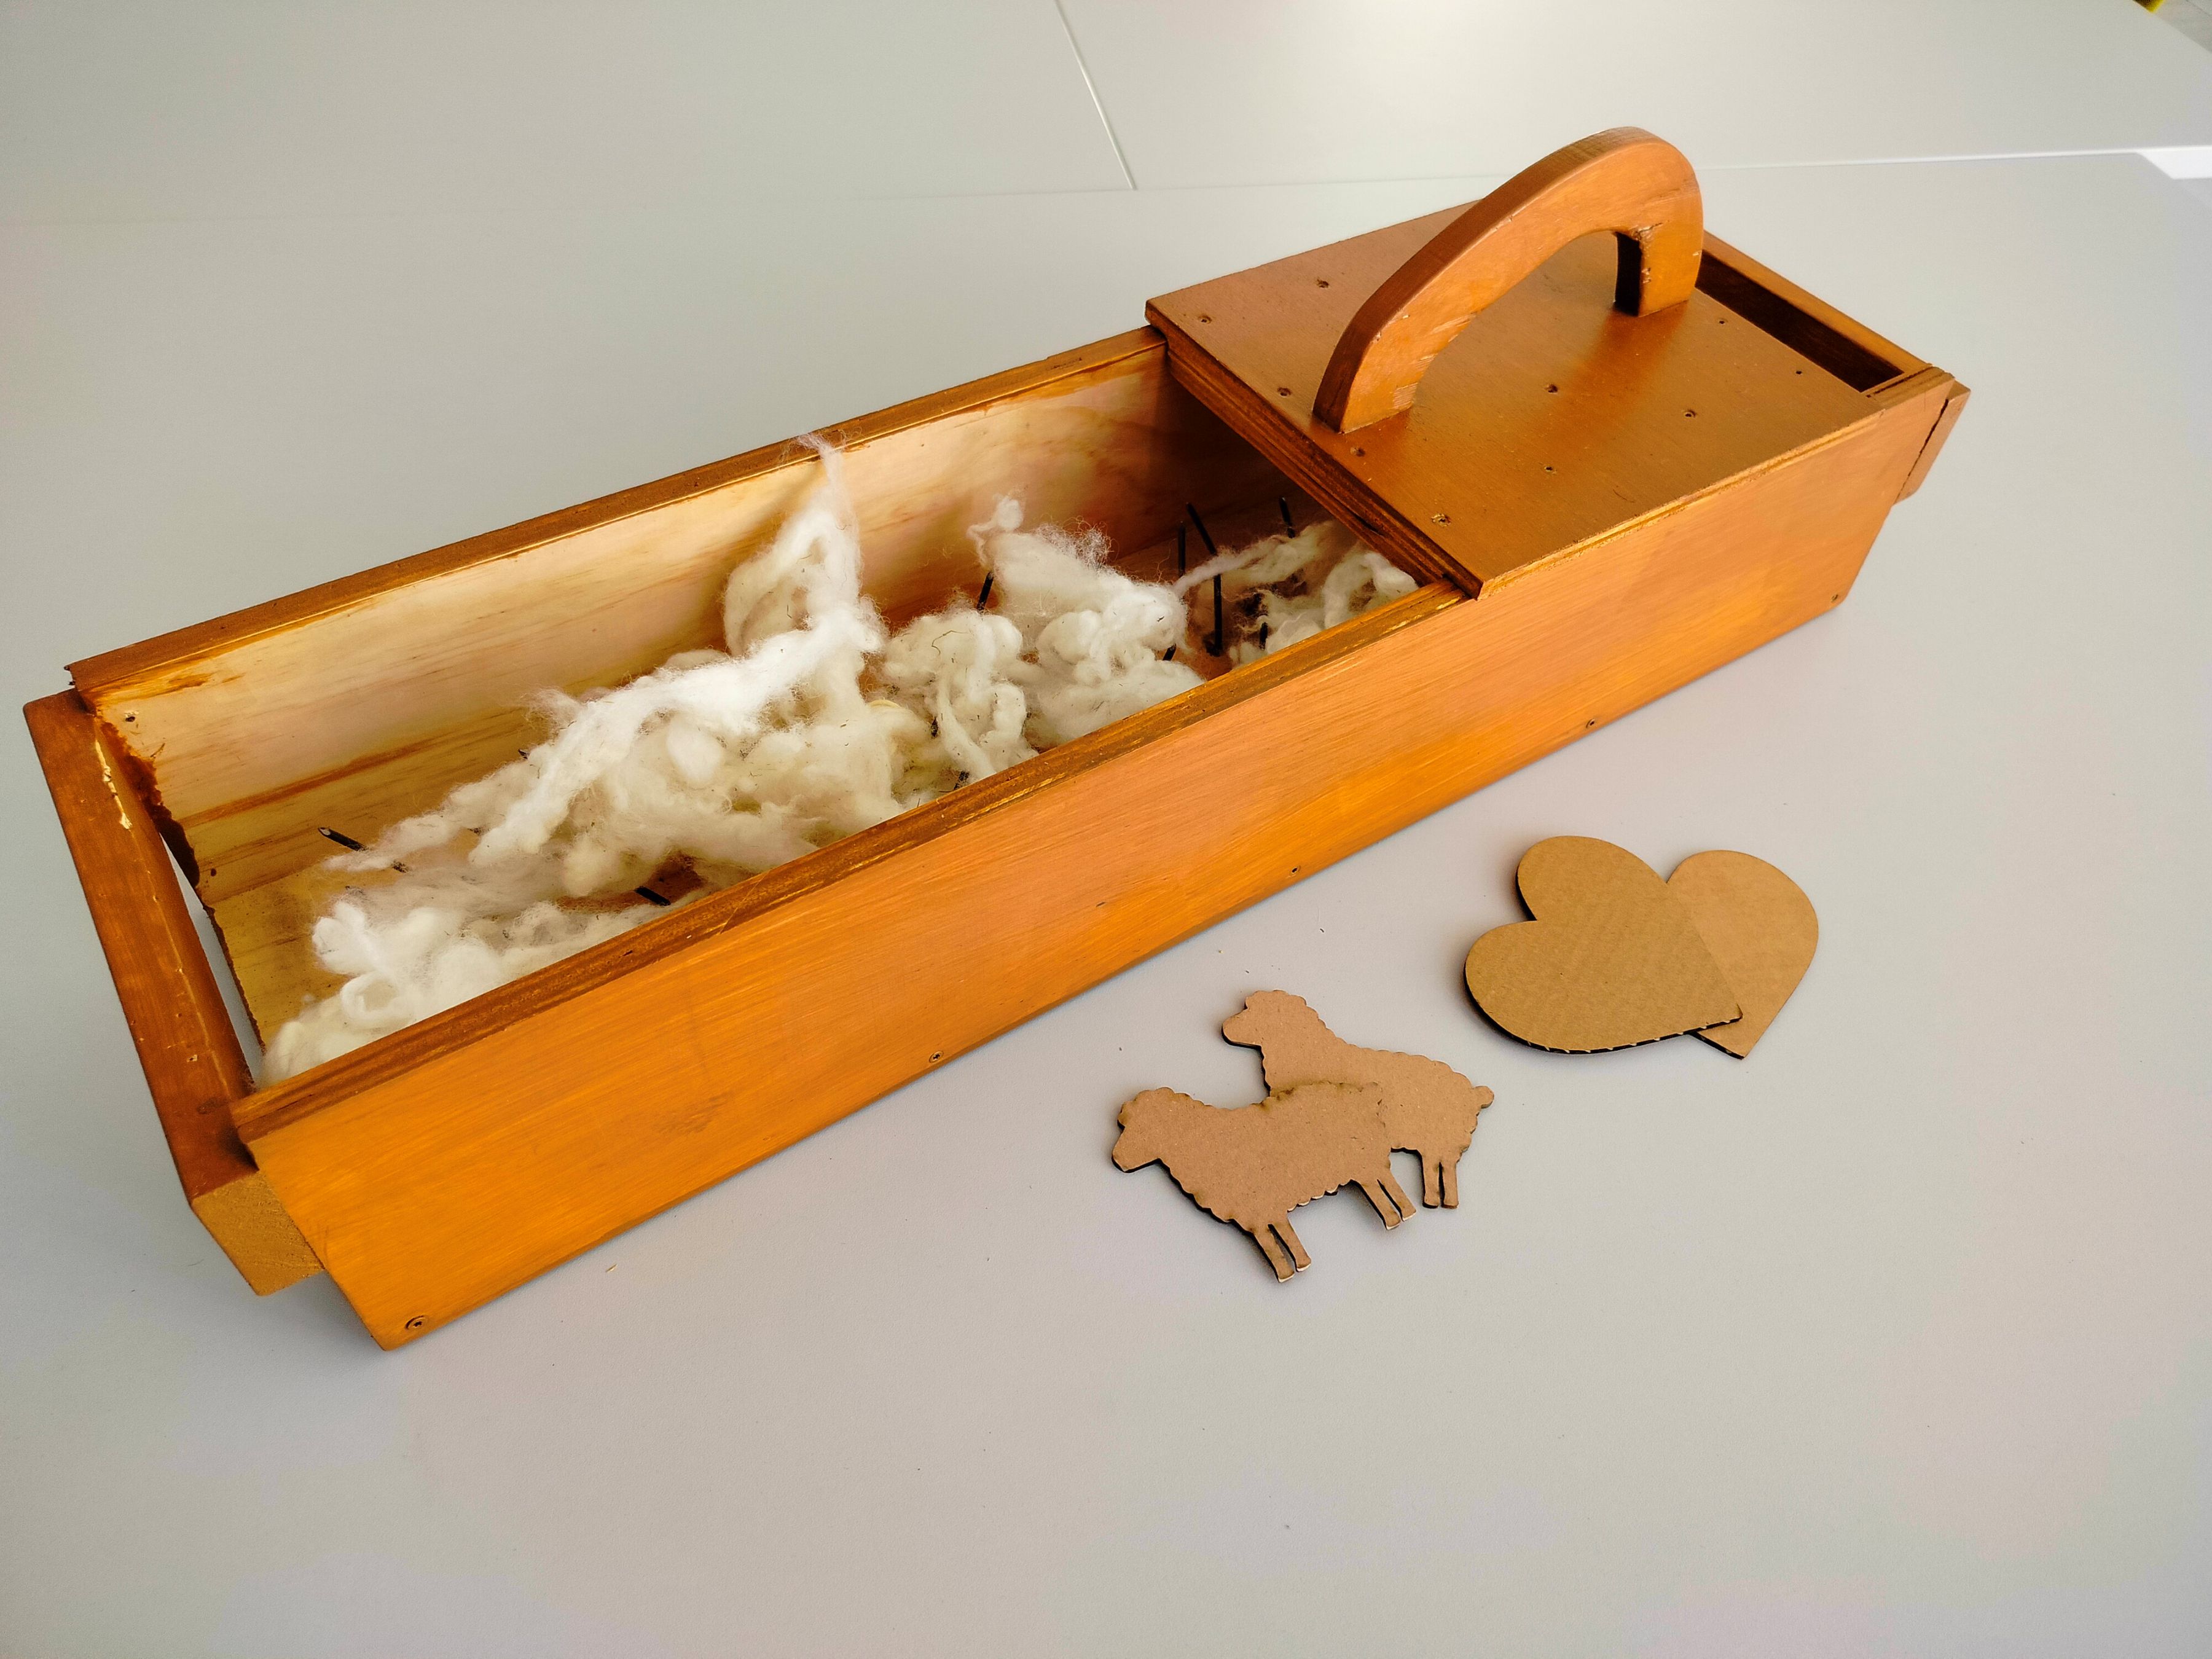
DIY wool picker
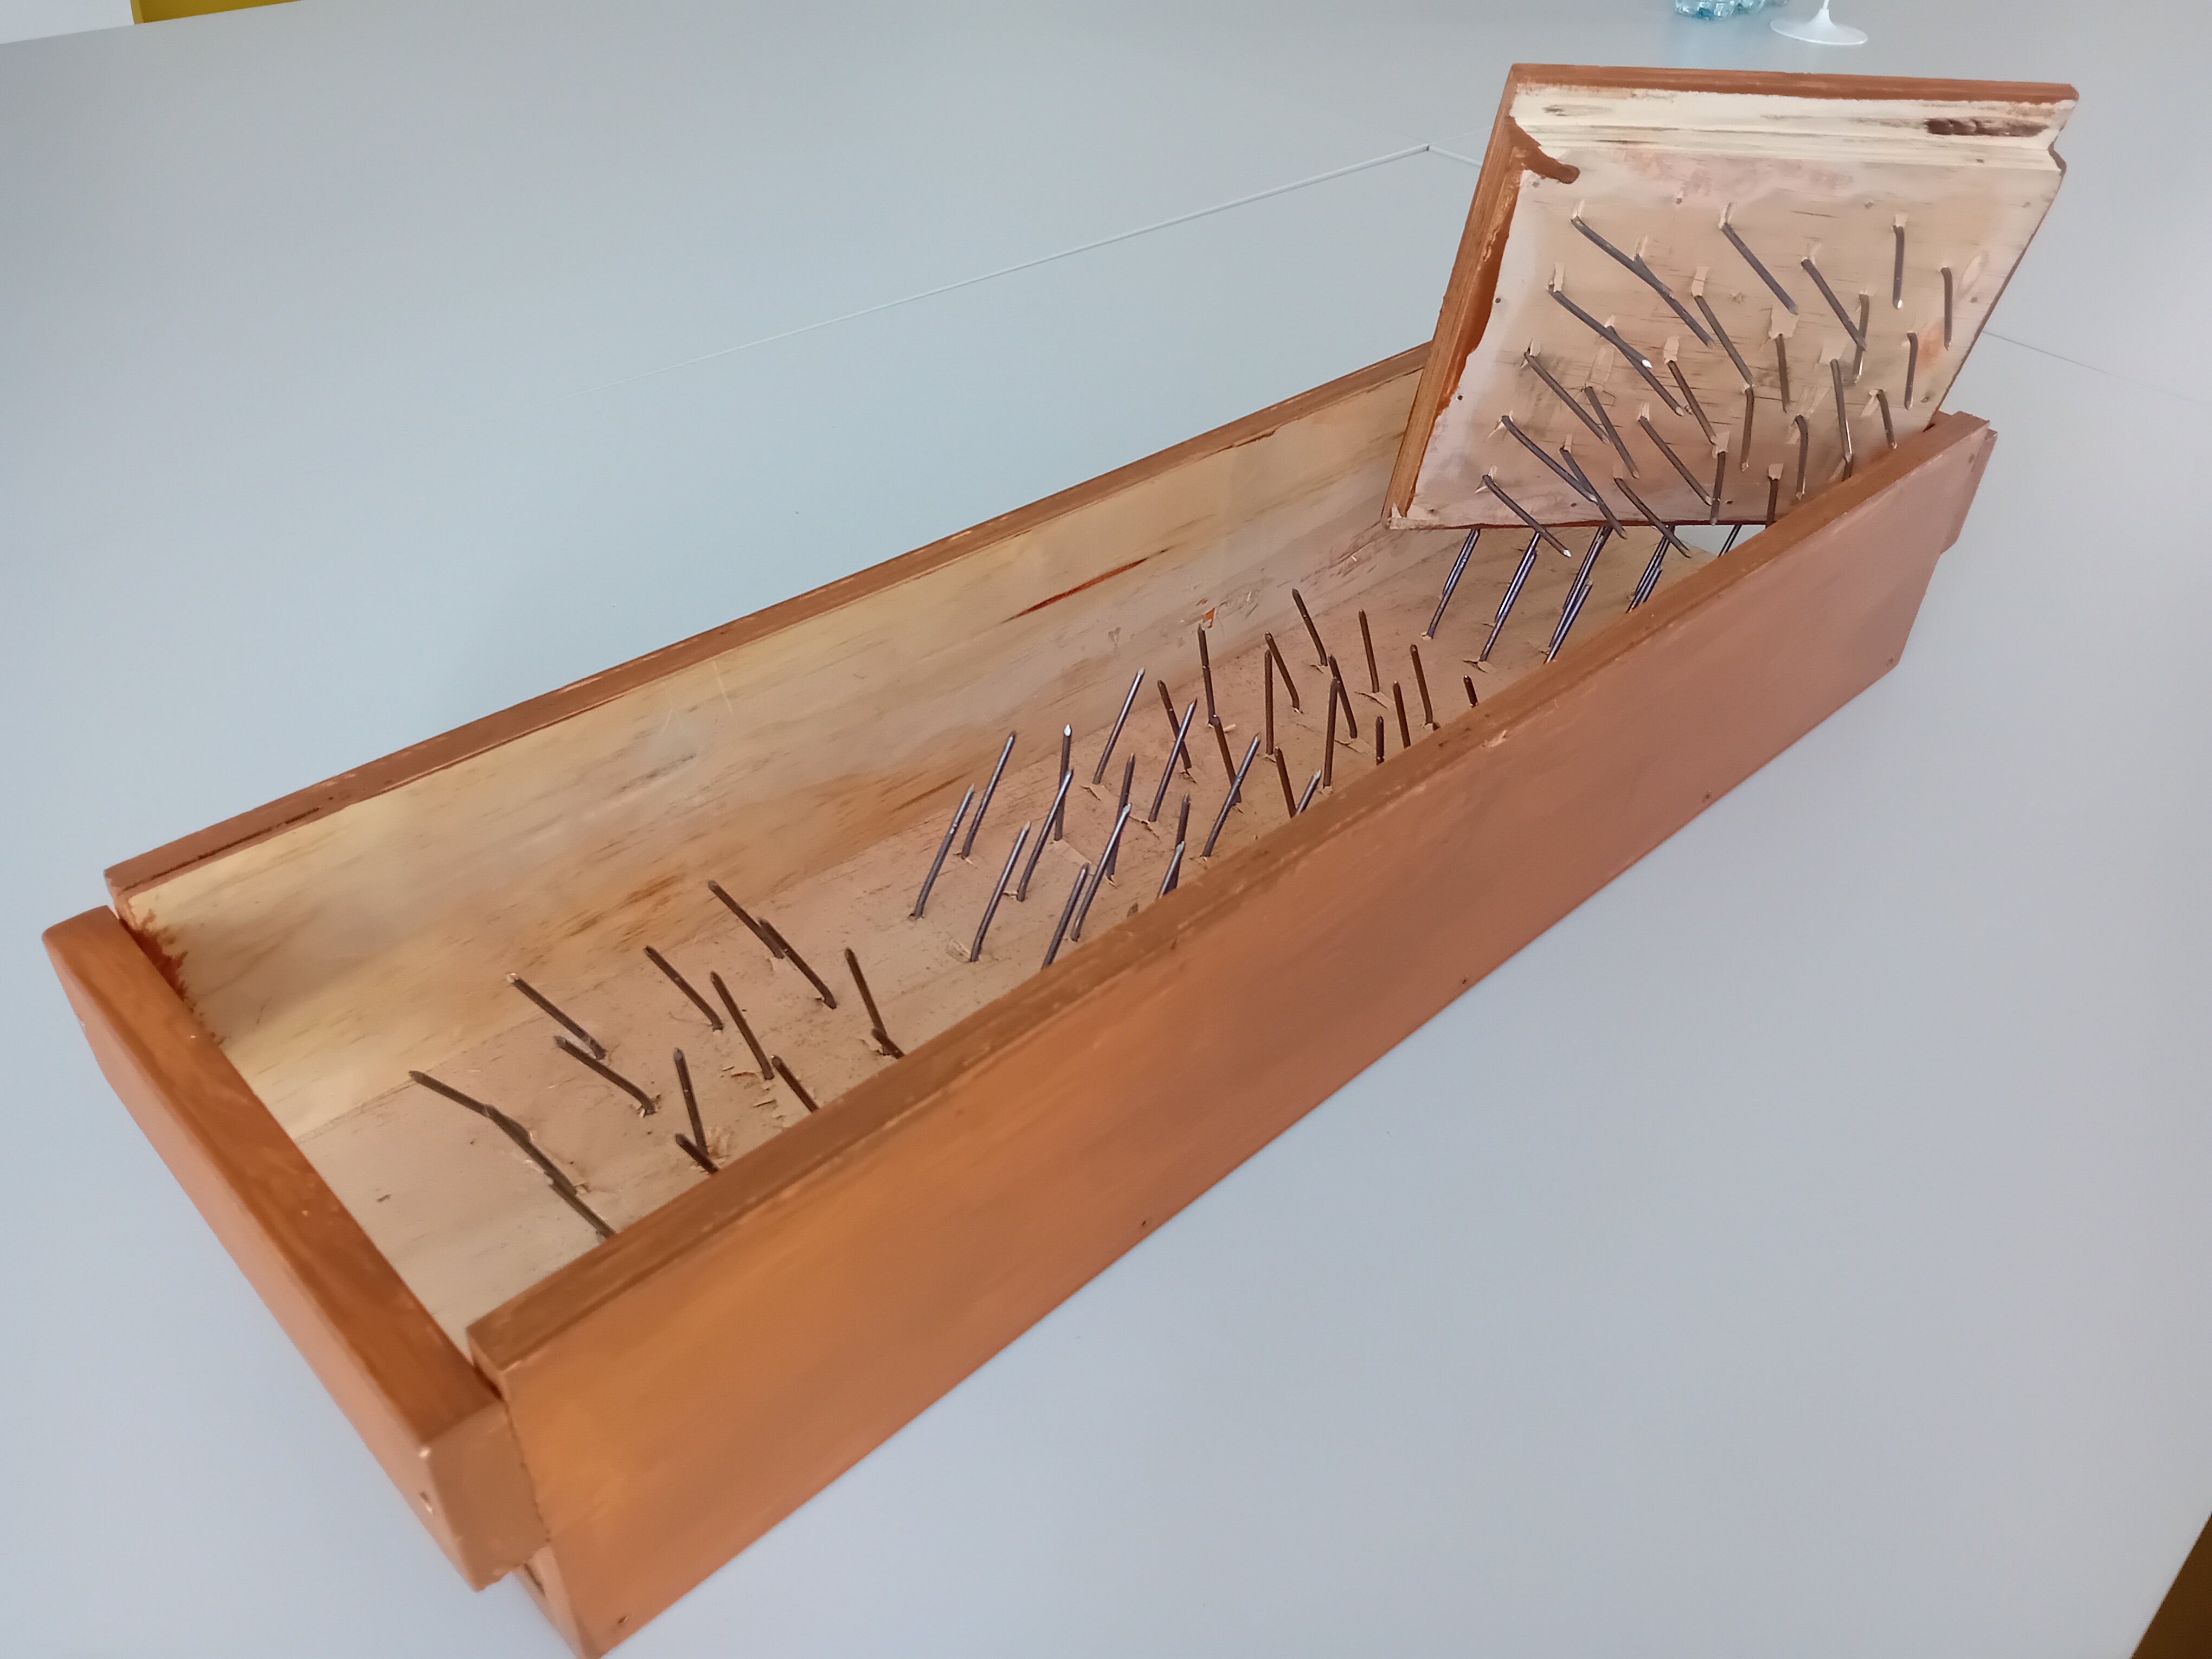
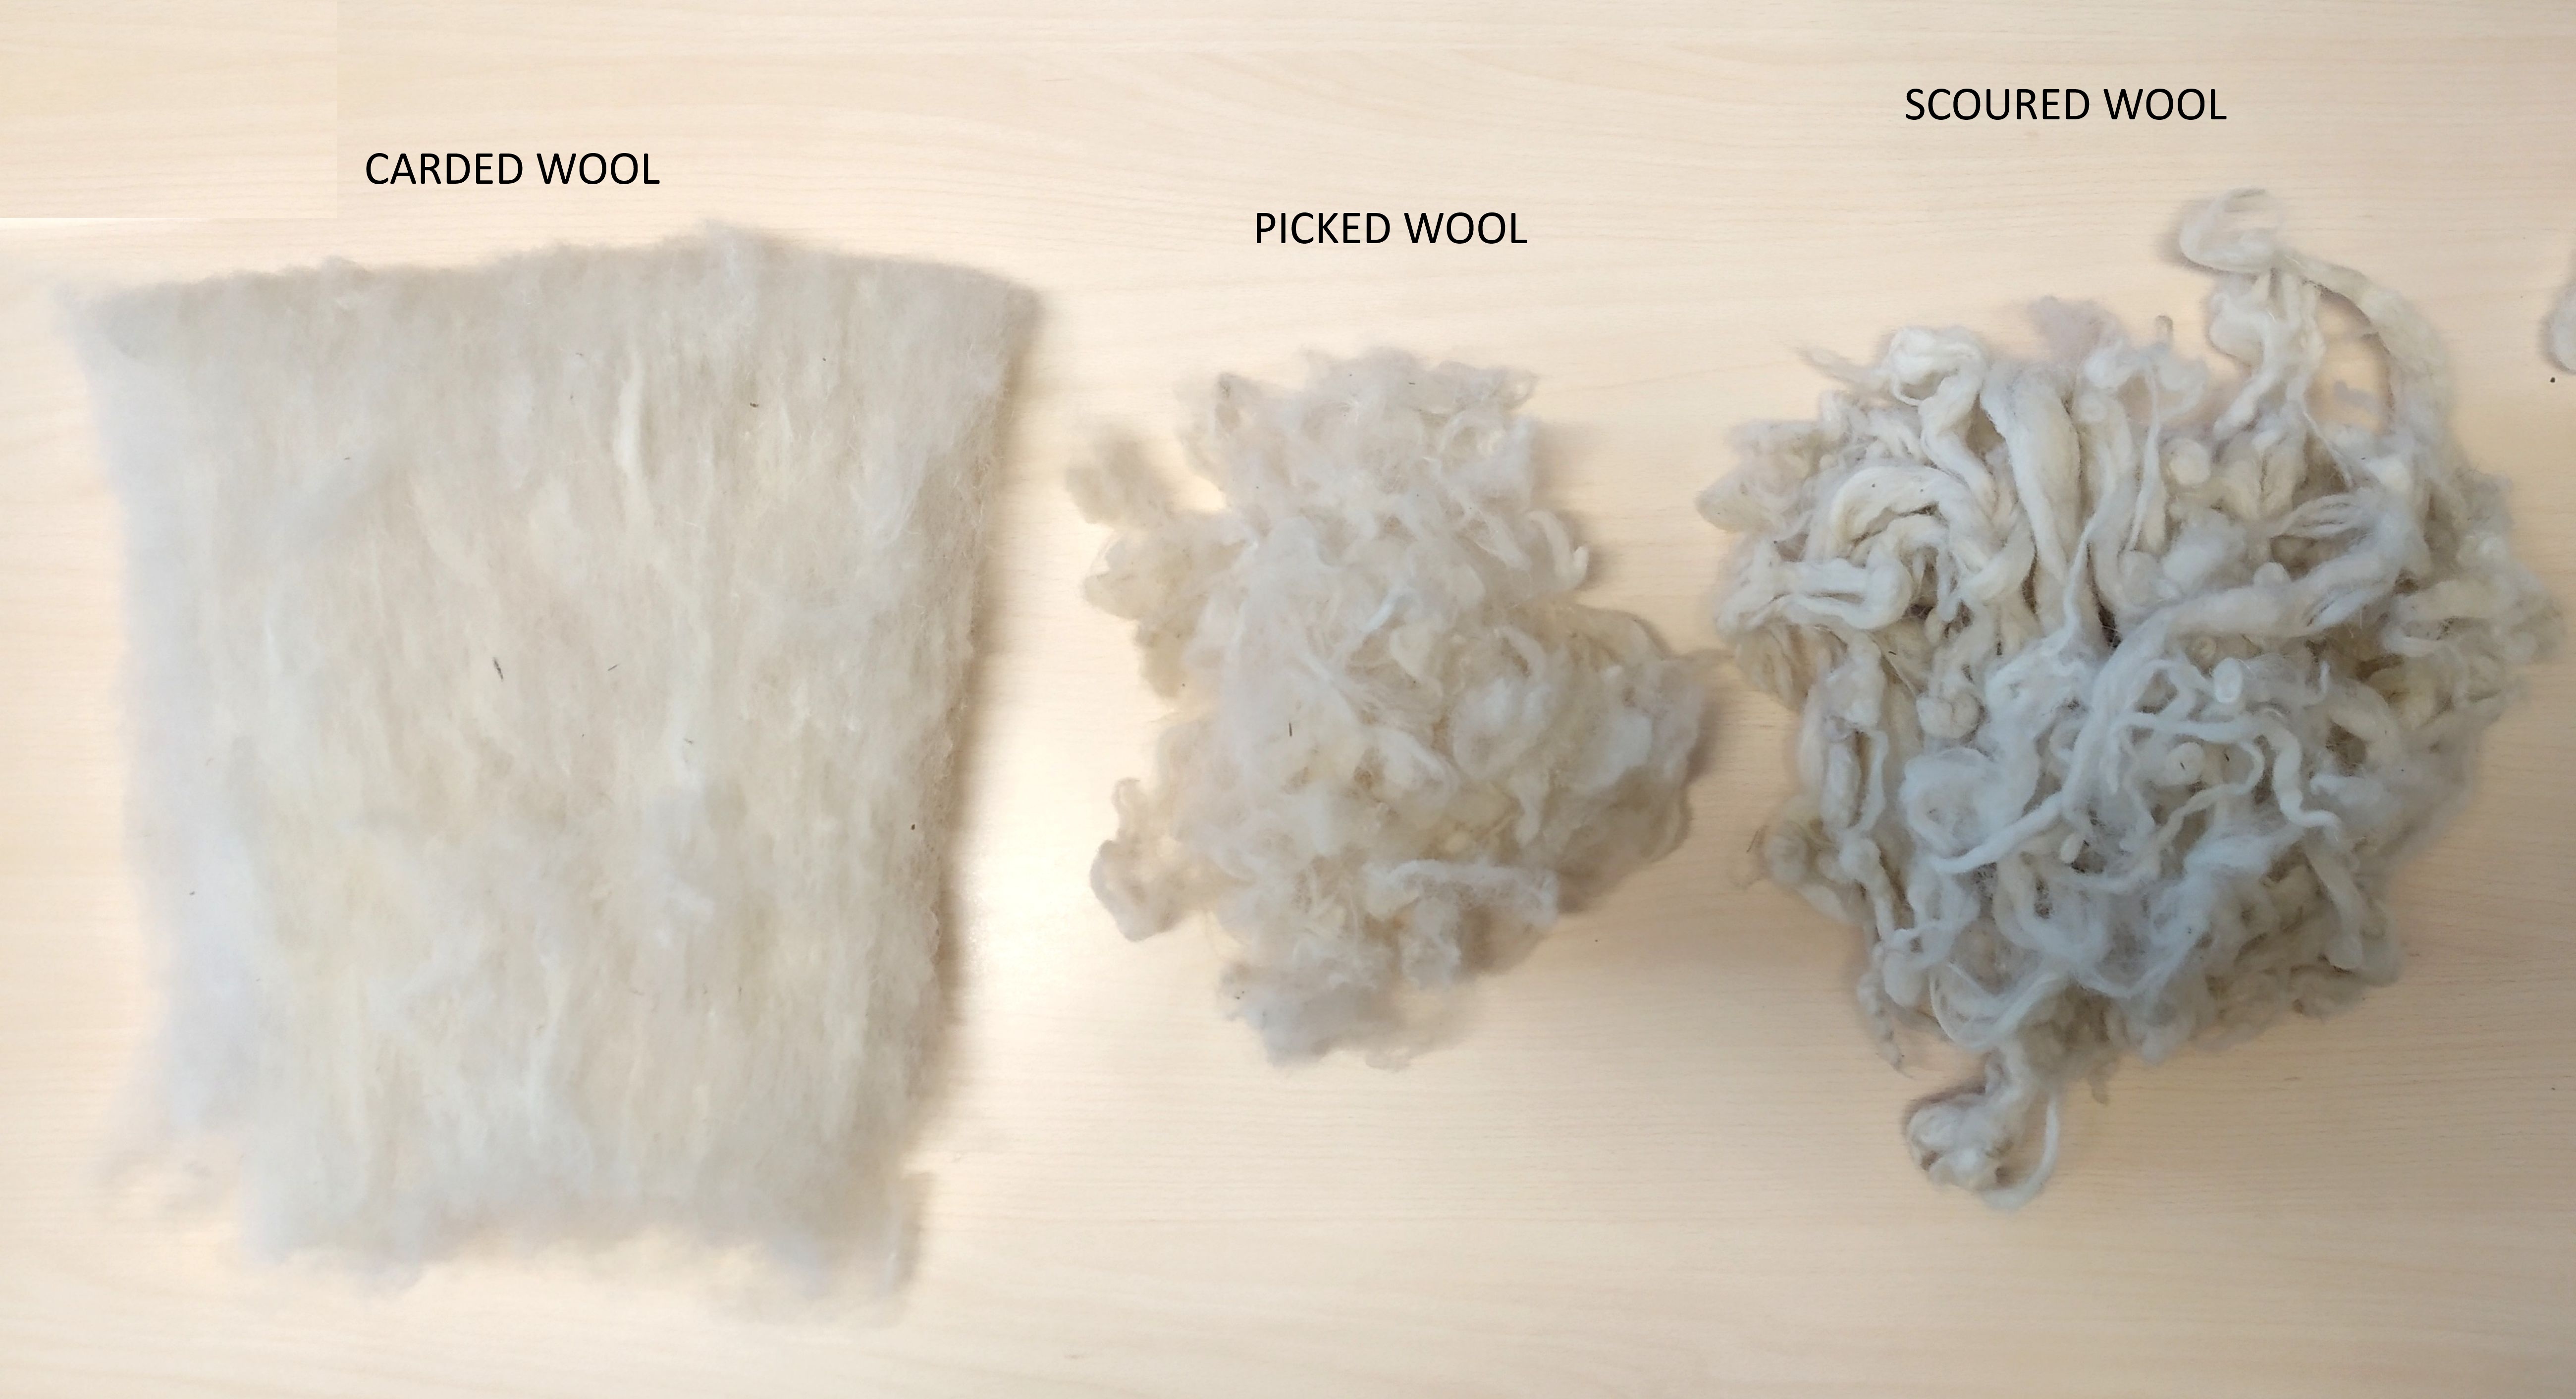
Wool fibres need to be separated after becoming entangled during the scouring process. This simple DIY wool picker helps and the positioning of the nails help to open the wool fibres prior to carding. The picker design is easy to replicate and it enables to use local reclaimed wood for manufacture.
Input materials
- wool picker
- desk clamps
- desk clamps
Ingredients
- scoured wool
How to
1. Secure the picker onto a table top using the clamps.
2. Take a handful of scoured wool and place it inside the picker.
3. Place the moving guide on top and start pushing the guide backwards and forwards. Push the wool towards the end of the picker.
4. Remove the moving guide and carefully collect the loosened wool fibres.
2. Take a handful of scoured wool and place it inside the picker.
3. Place the moving guide on top and start pushing the guide backwards and forwards. Push the wool towards the end of the picker.
4. Remove the moving guide and carefully collect the loosened wool fibres.
Gallery
Conclusion
Due to a high number of sharp nails, one has to be careful when placing the wool inside the picker or when collecting it at the end.
Low-tech Criteria
Simplicity3
Efficiency3
Durability4
Maintainability5
Ease of use5
Local4